
here we go again #
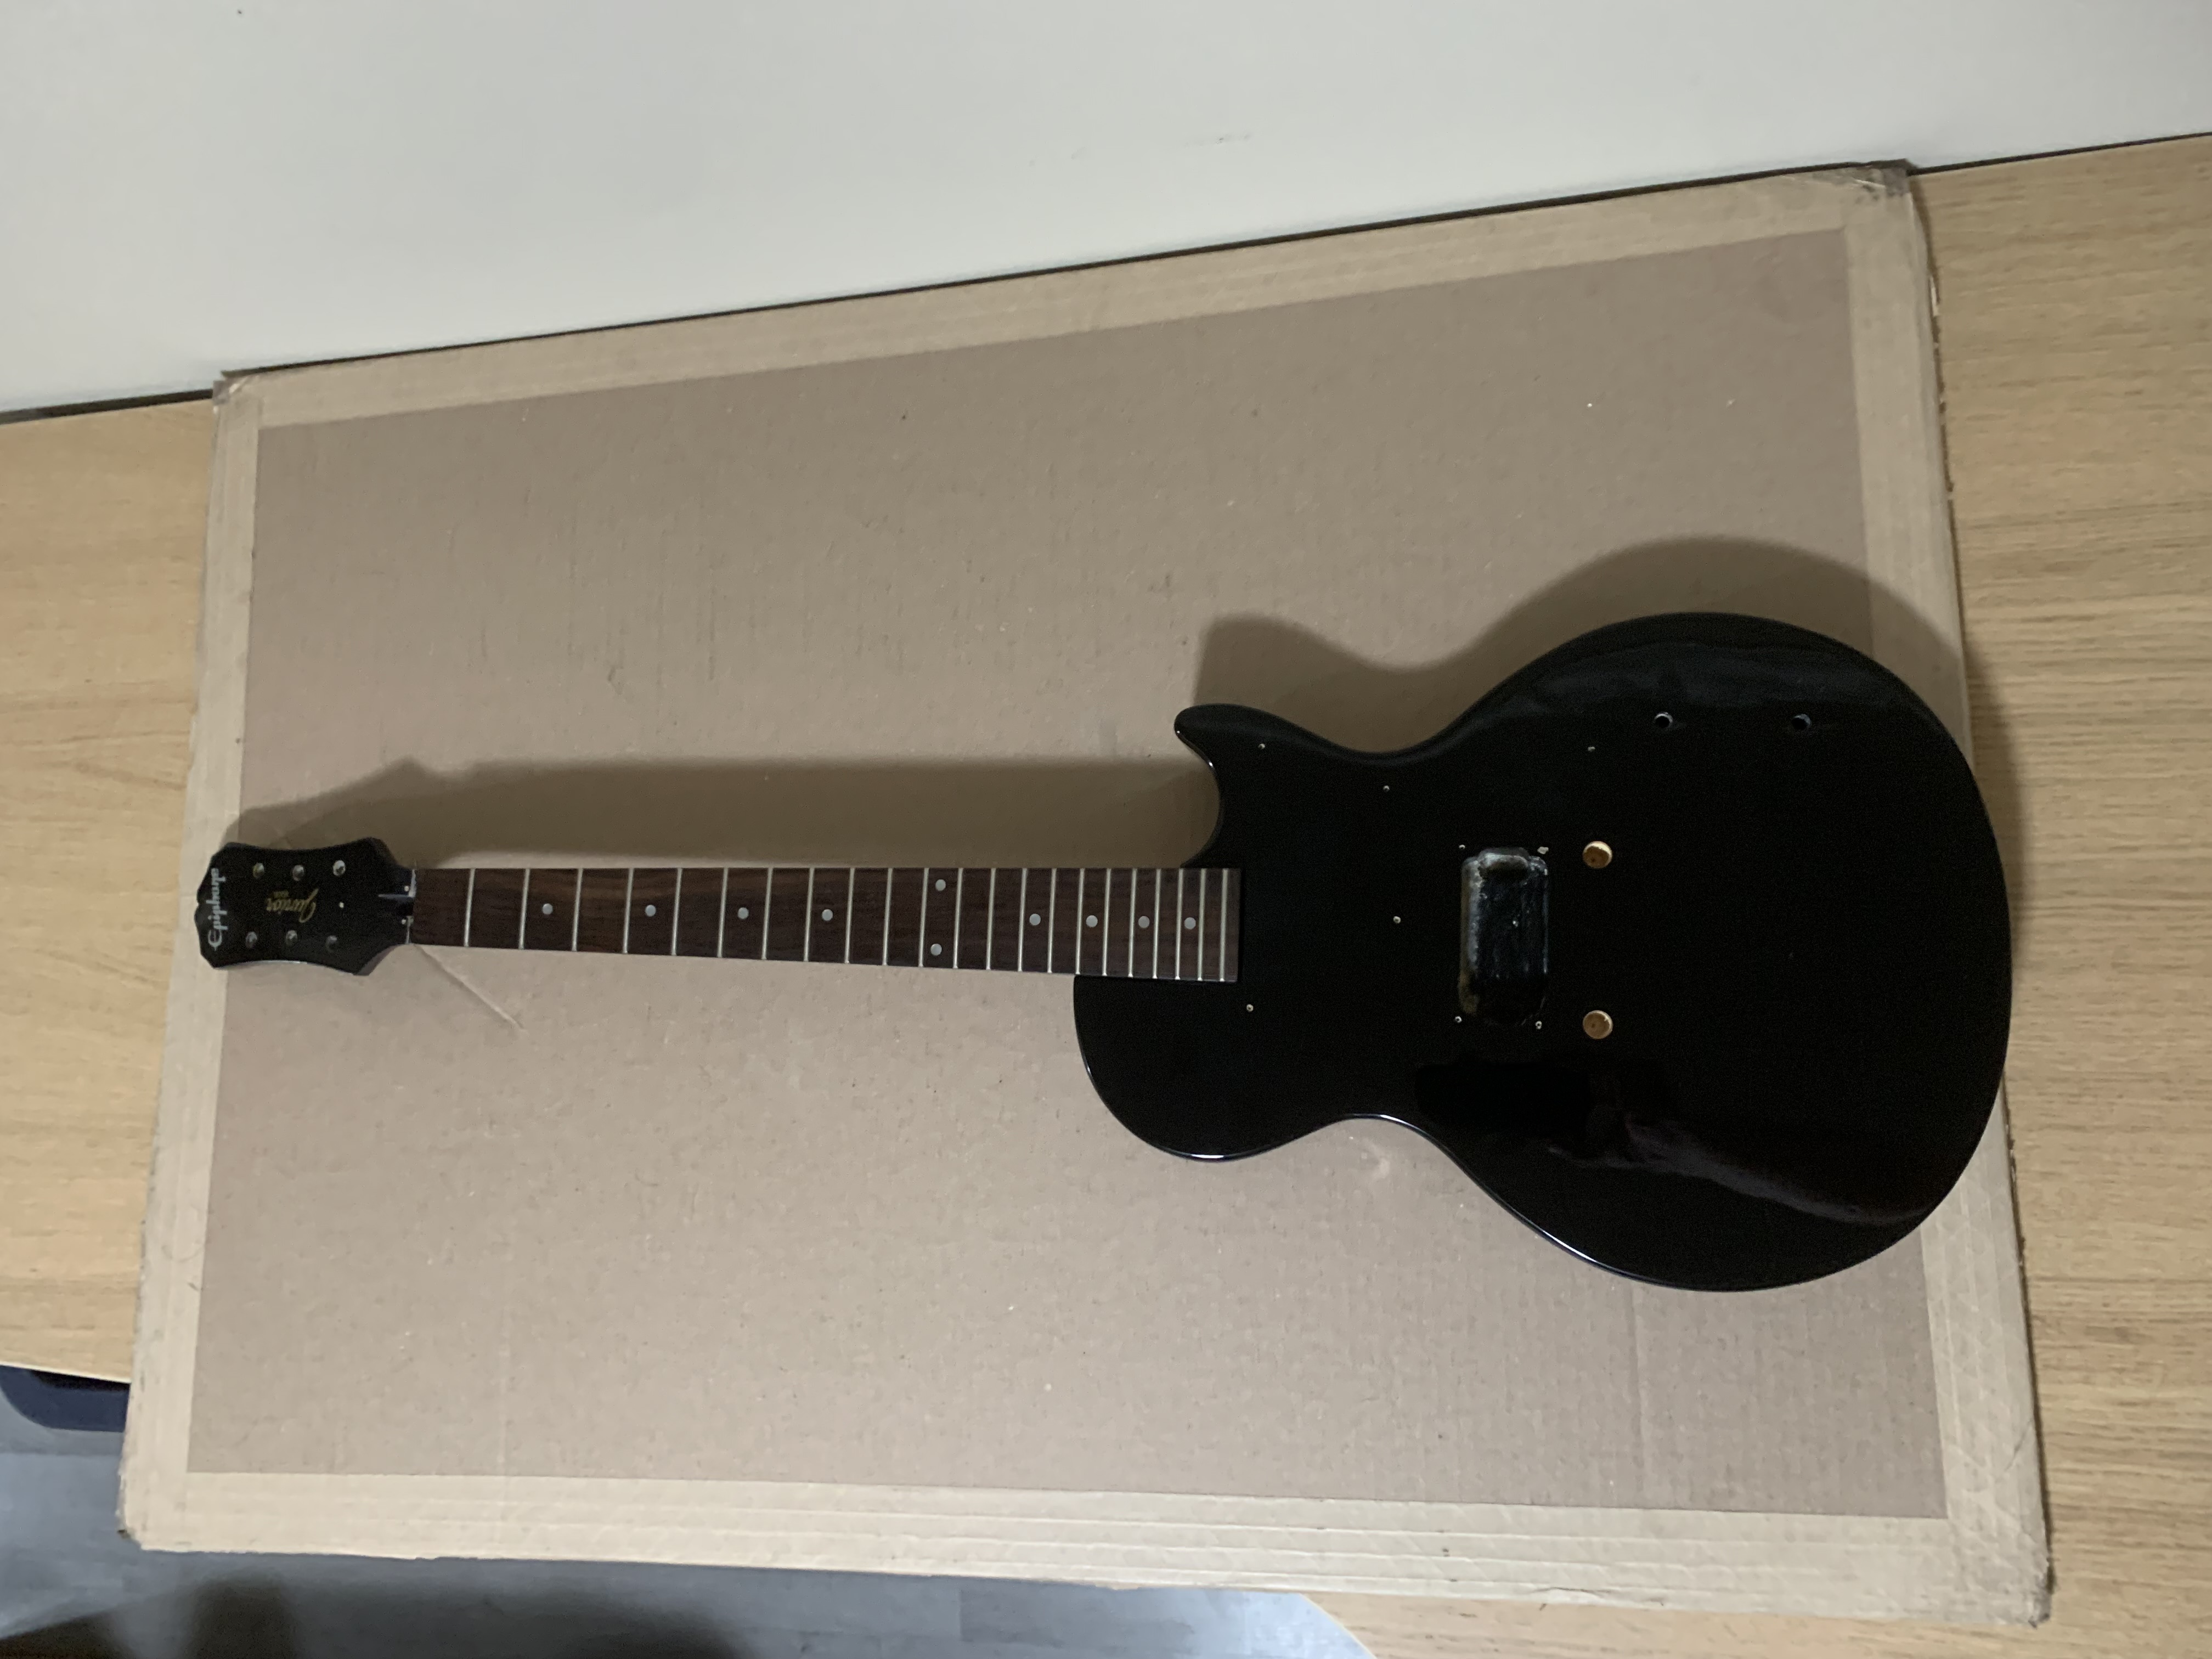
I bought an Epiphone LP Jr. earlier this year from my favorite guitar shop. It needed a little work so I got a great deal on it. I removed everything, started to strip the nitro, but parked it to work on my Fender Strat build. I started working on it again this weekend and I’m stupid excited about it.
what to do and where to go #
There wasn’t a lot asthetically I wanted to change with the Fender, but this guitar was different. I didn’t want an all black guitar and didn’t want a relic’d black guitar either.
I continued stripping and sanding the body and neck, still unsure where to go with it.
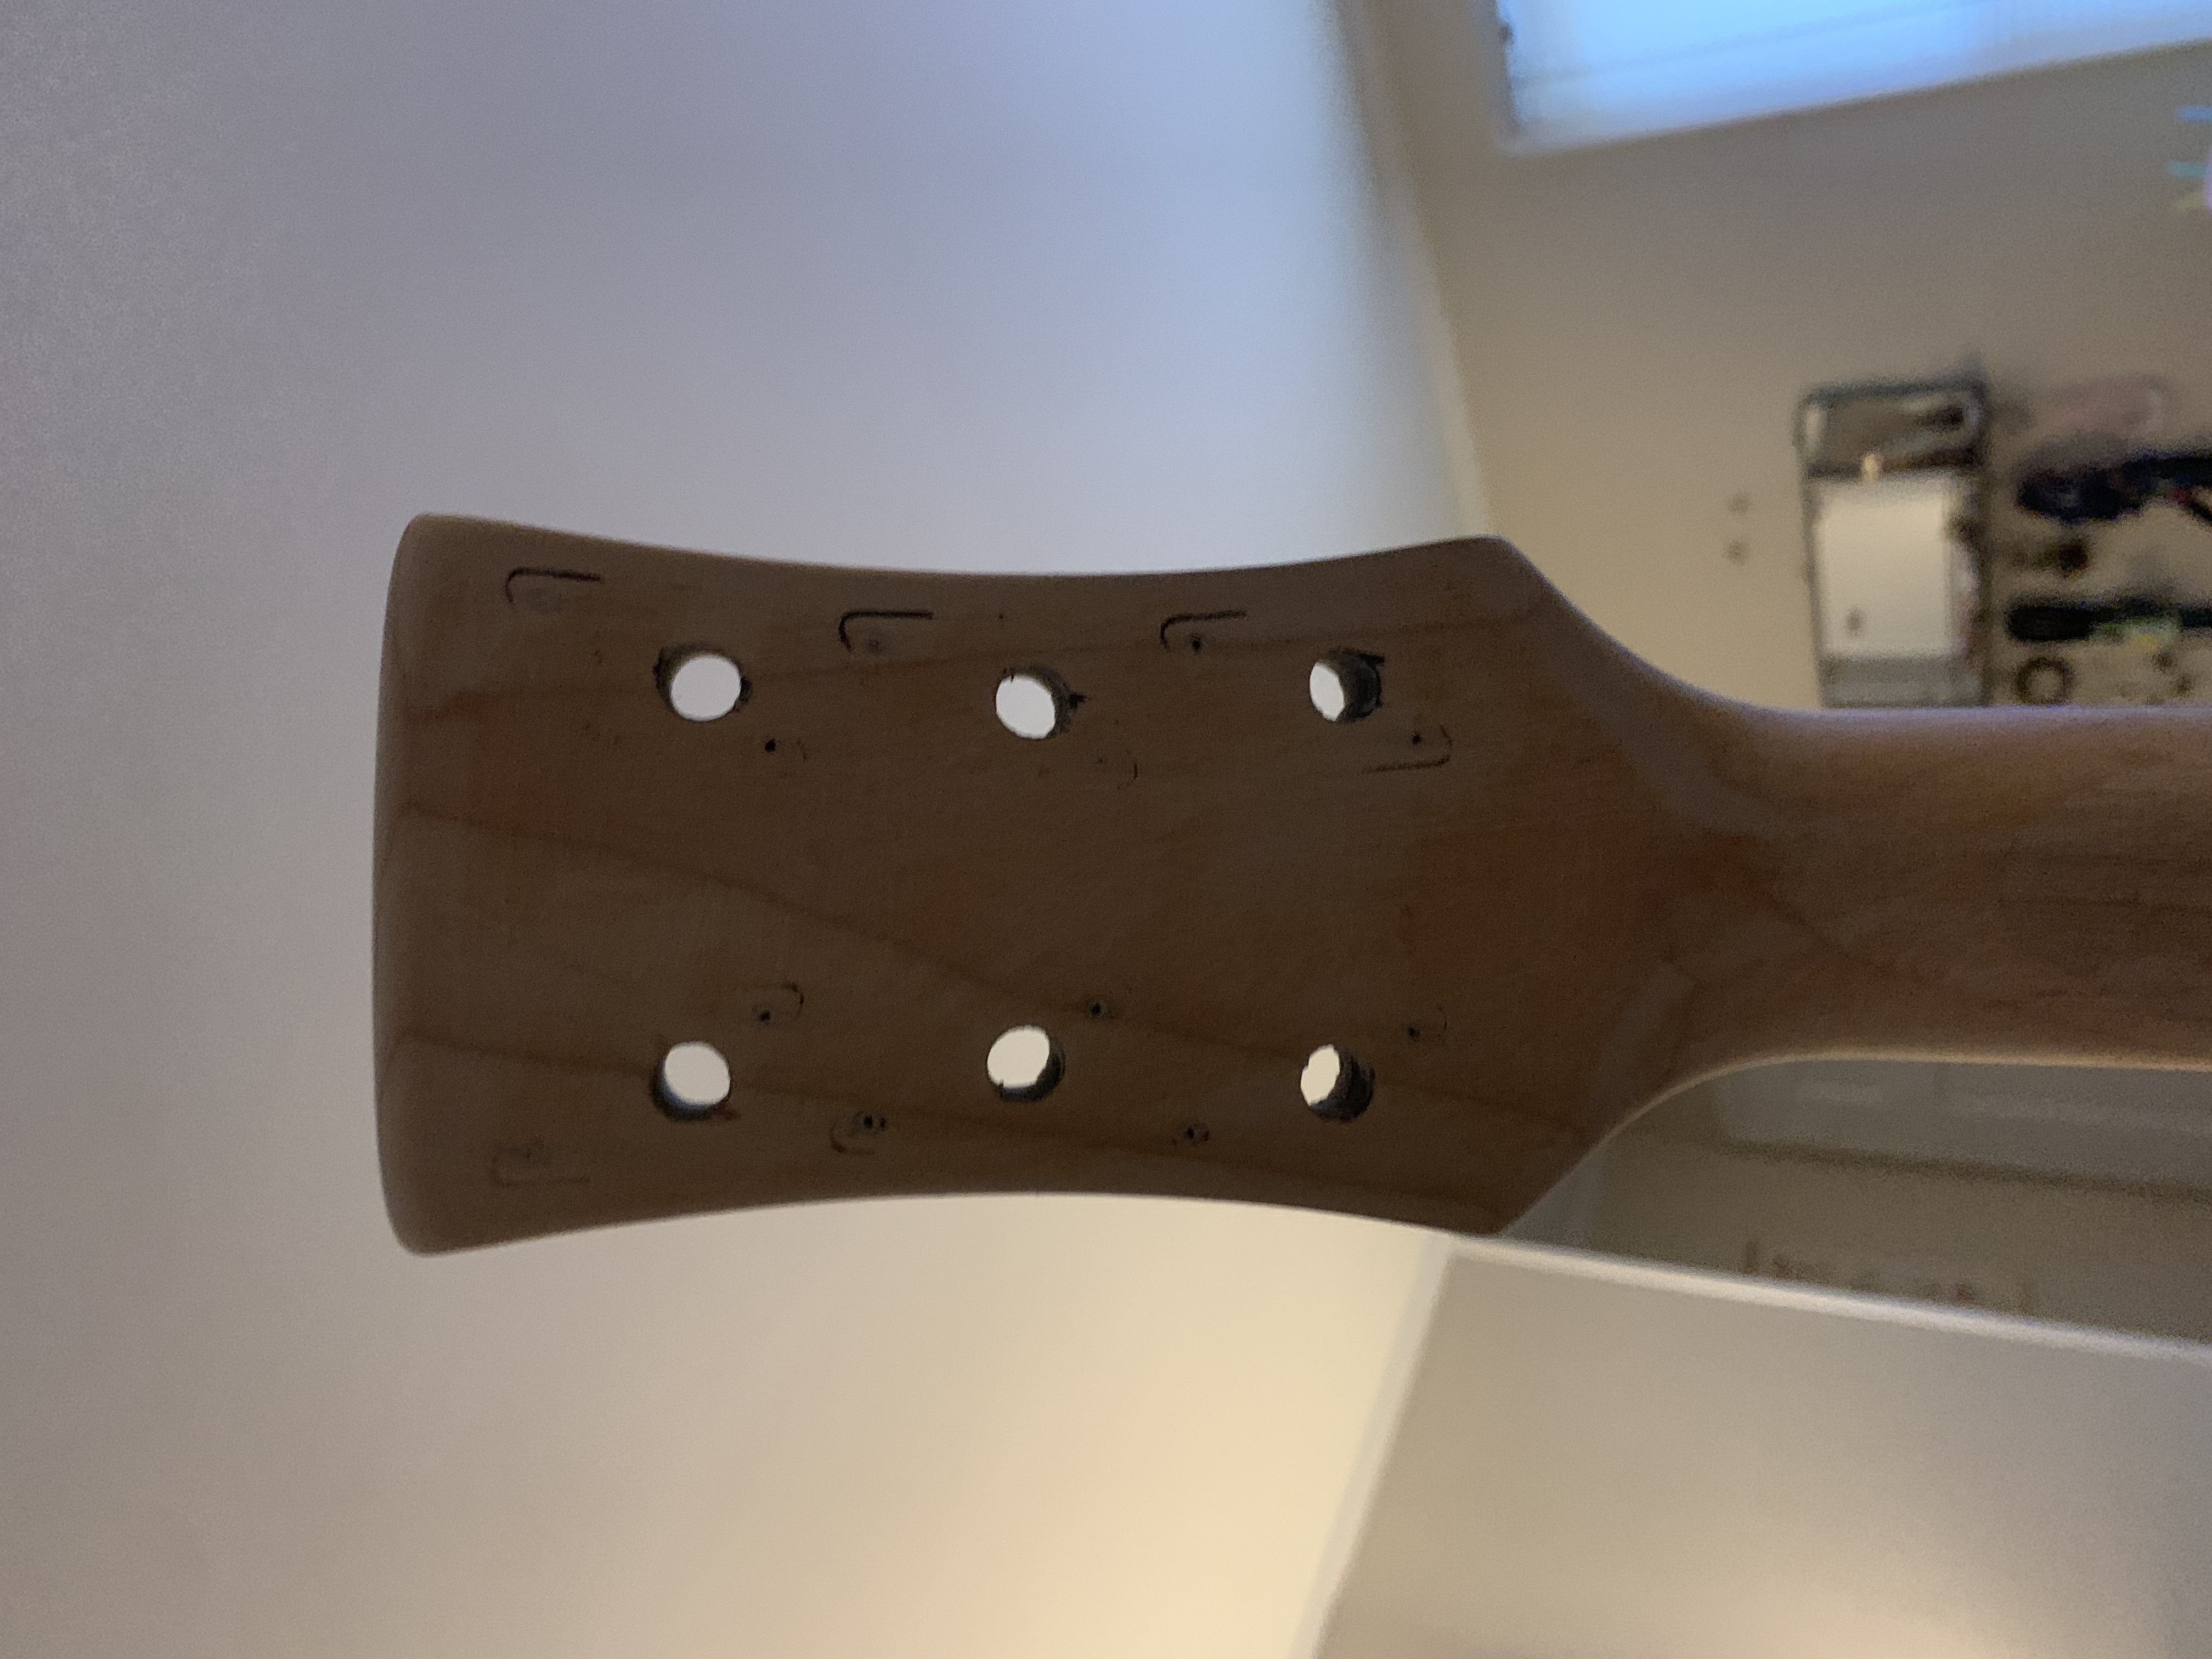
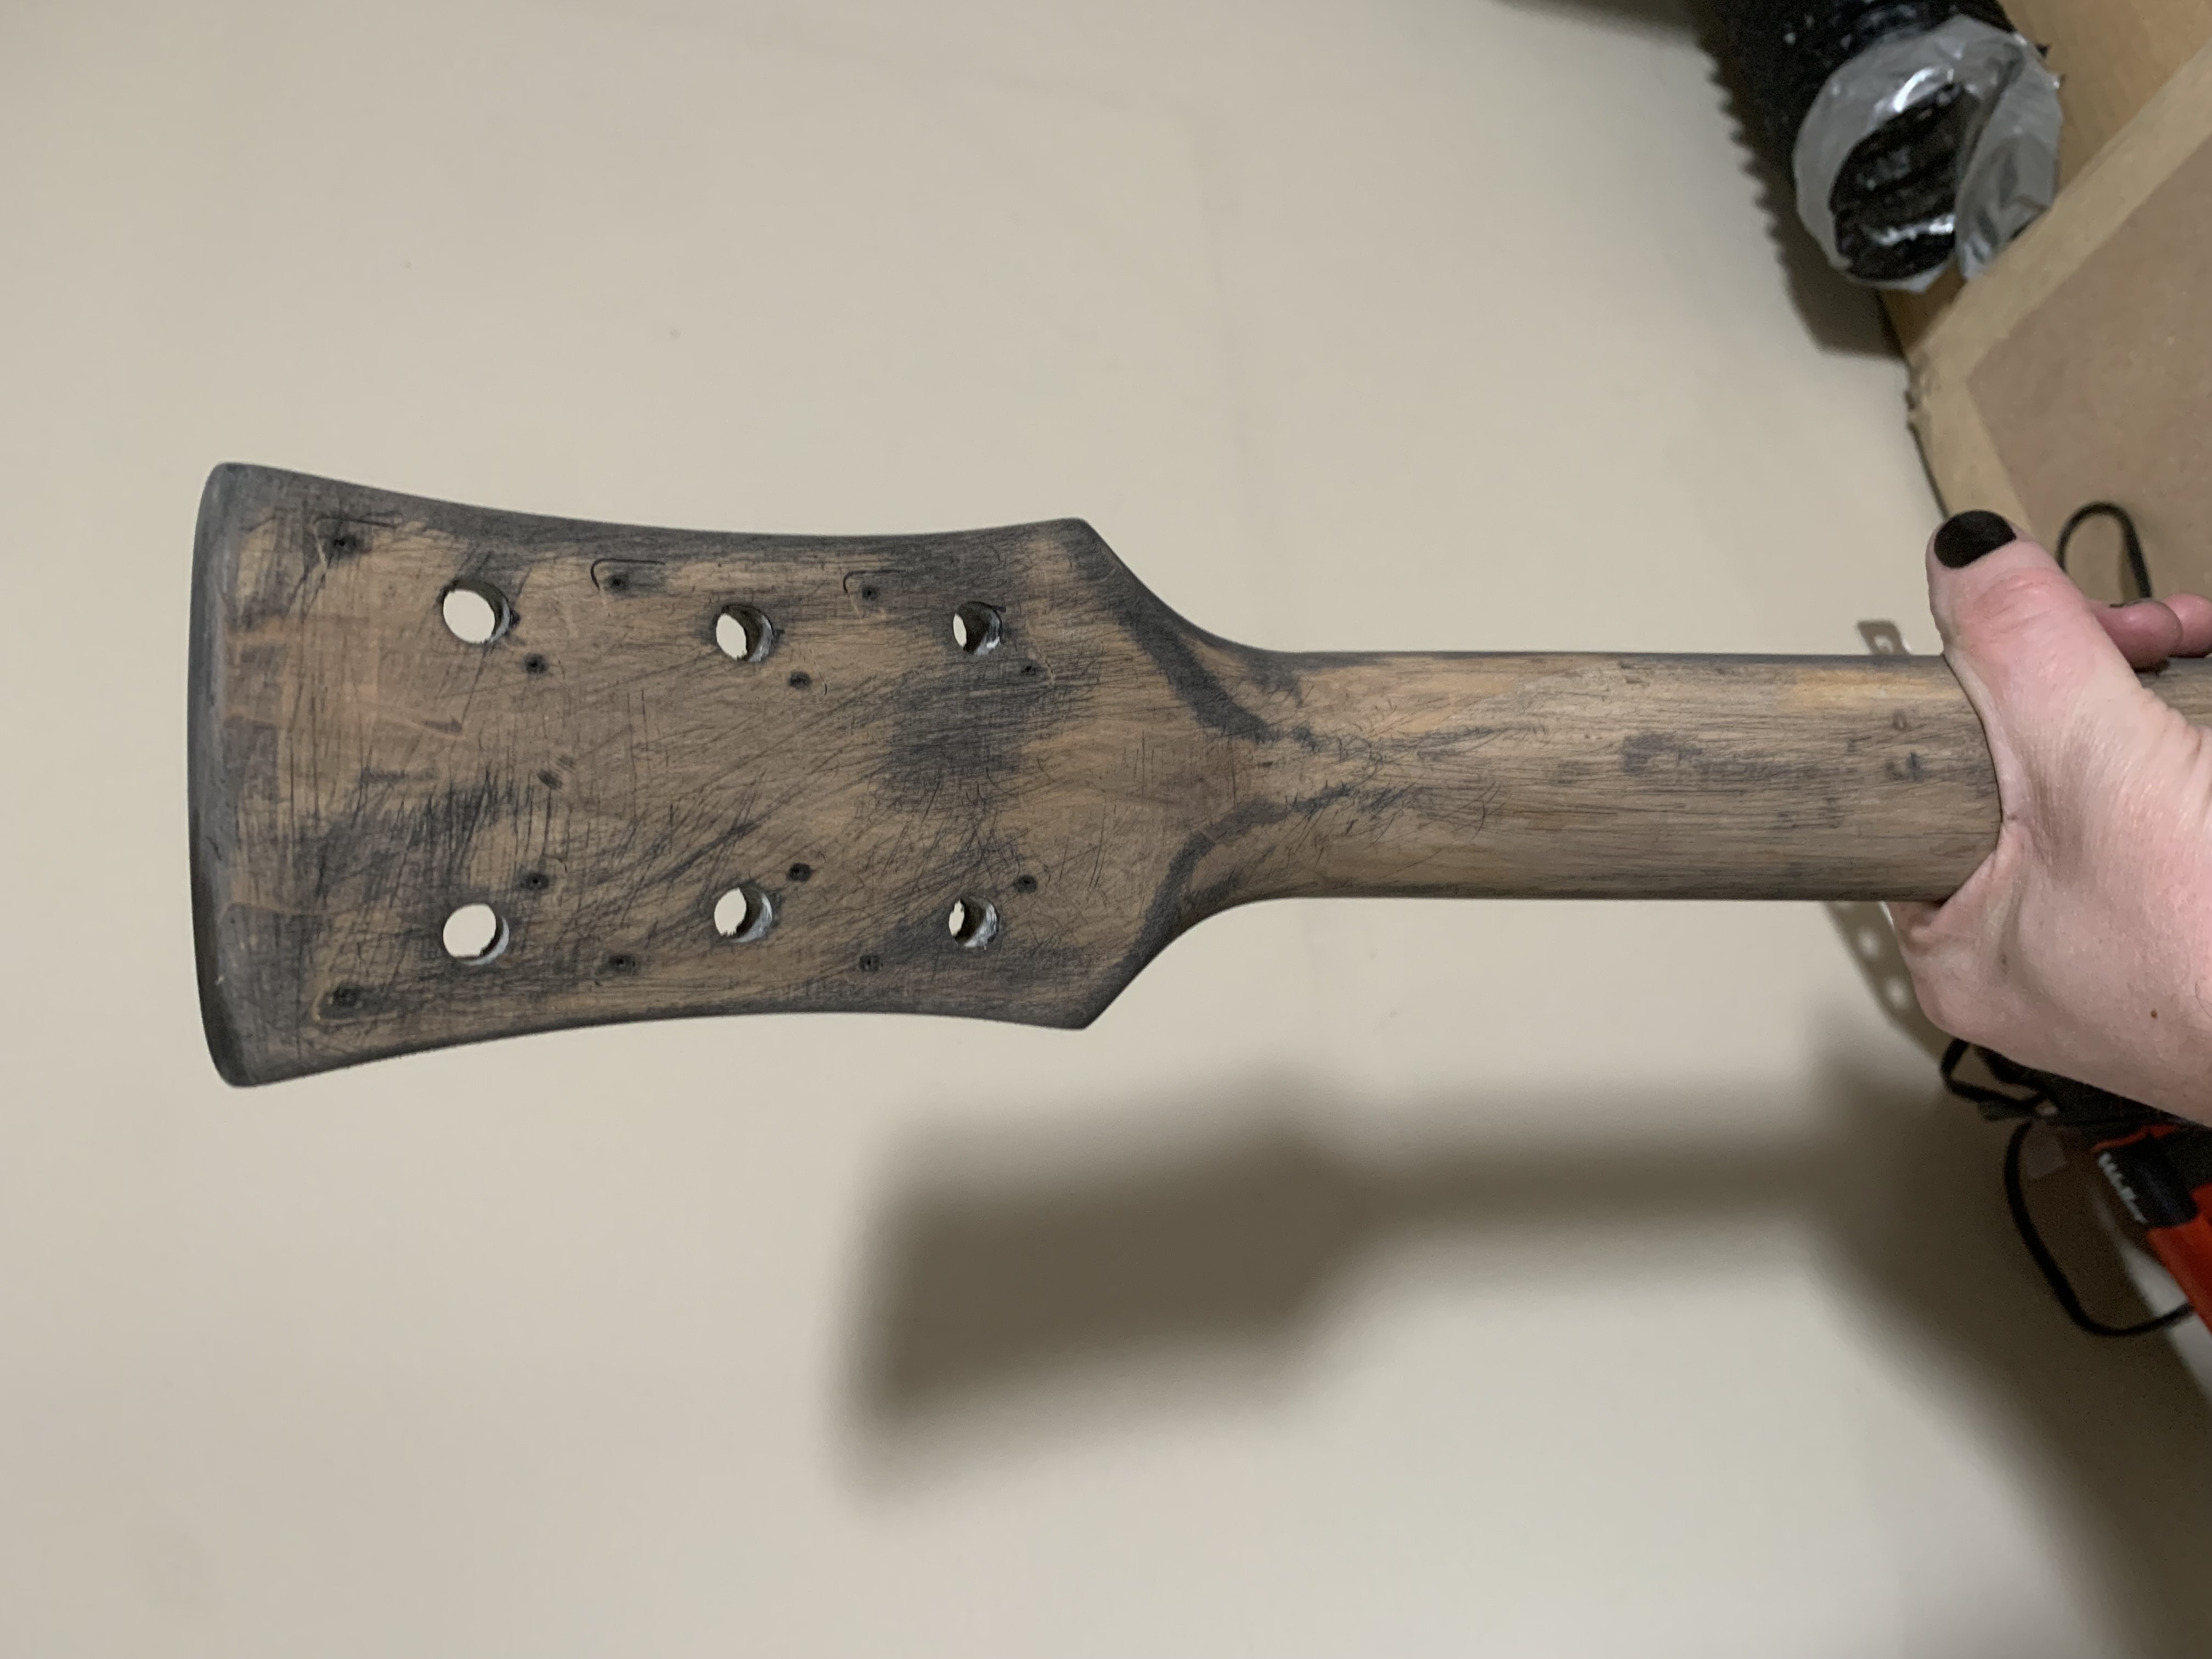
I really don’t like Epiphone headstocks #
After I’d finished removing most of the nitro, I didn’t know what to do with the headstock. All I know is I don’t like the shape of Epiphone headstocks. Let’s see what we can do. I took it down to my workspace, fired up my Dremel brand cutting wheel, then circumcised it. I finished shaping it upstairs while watching The Acolyte (Corcoran Cut).
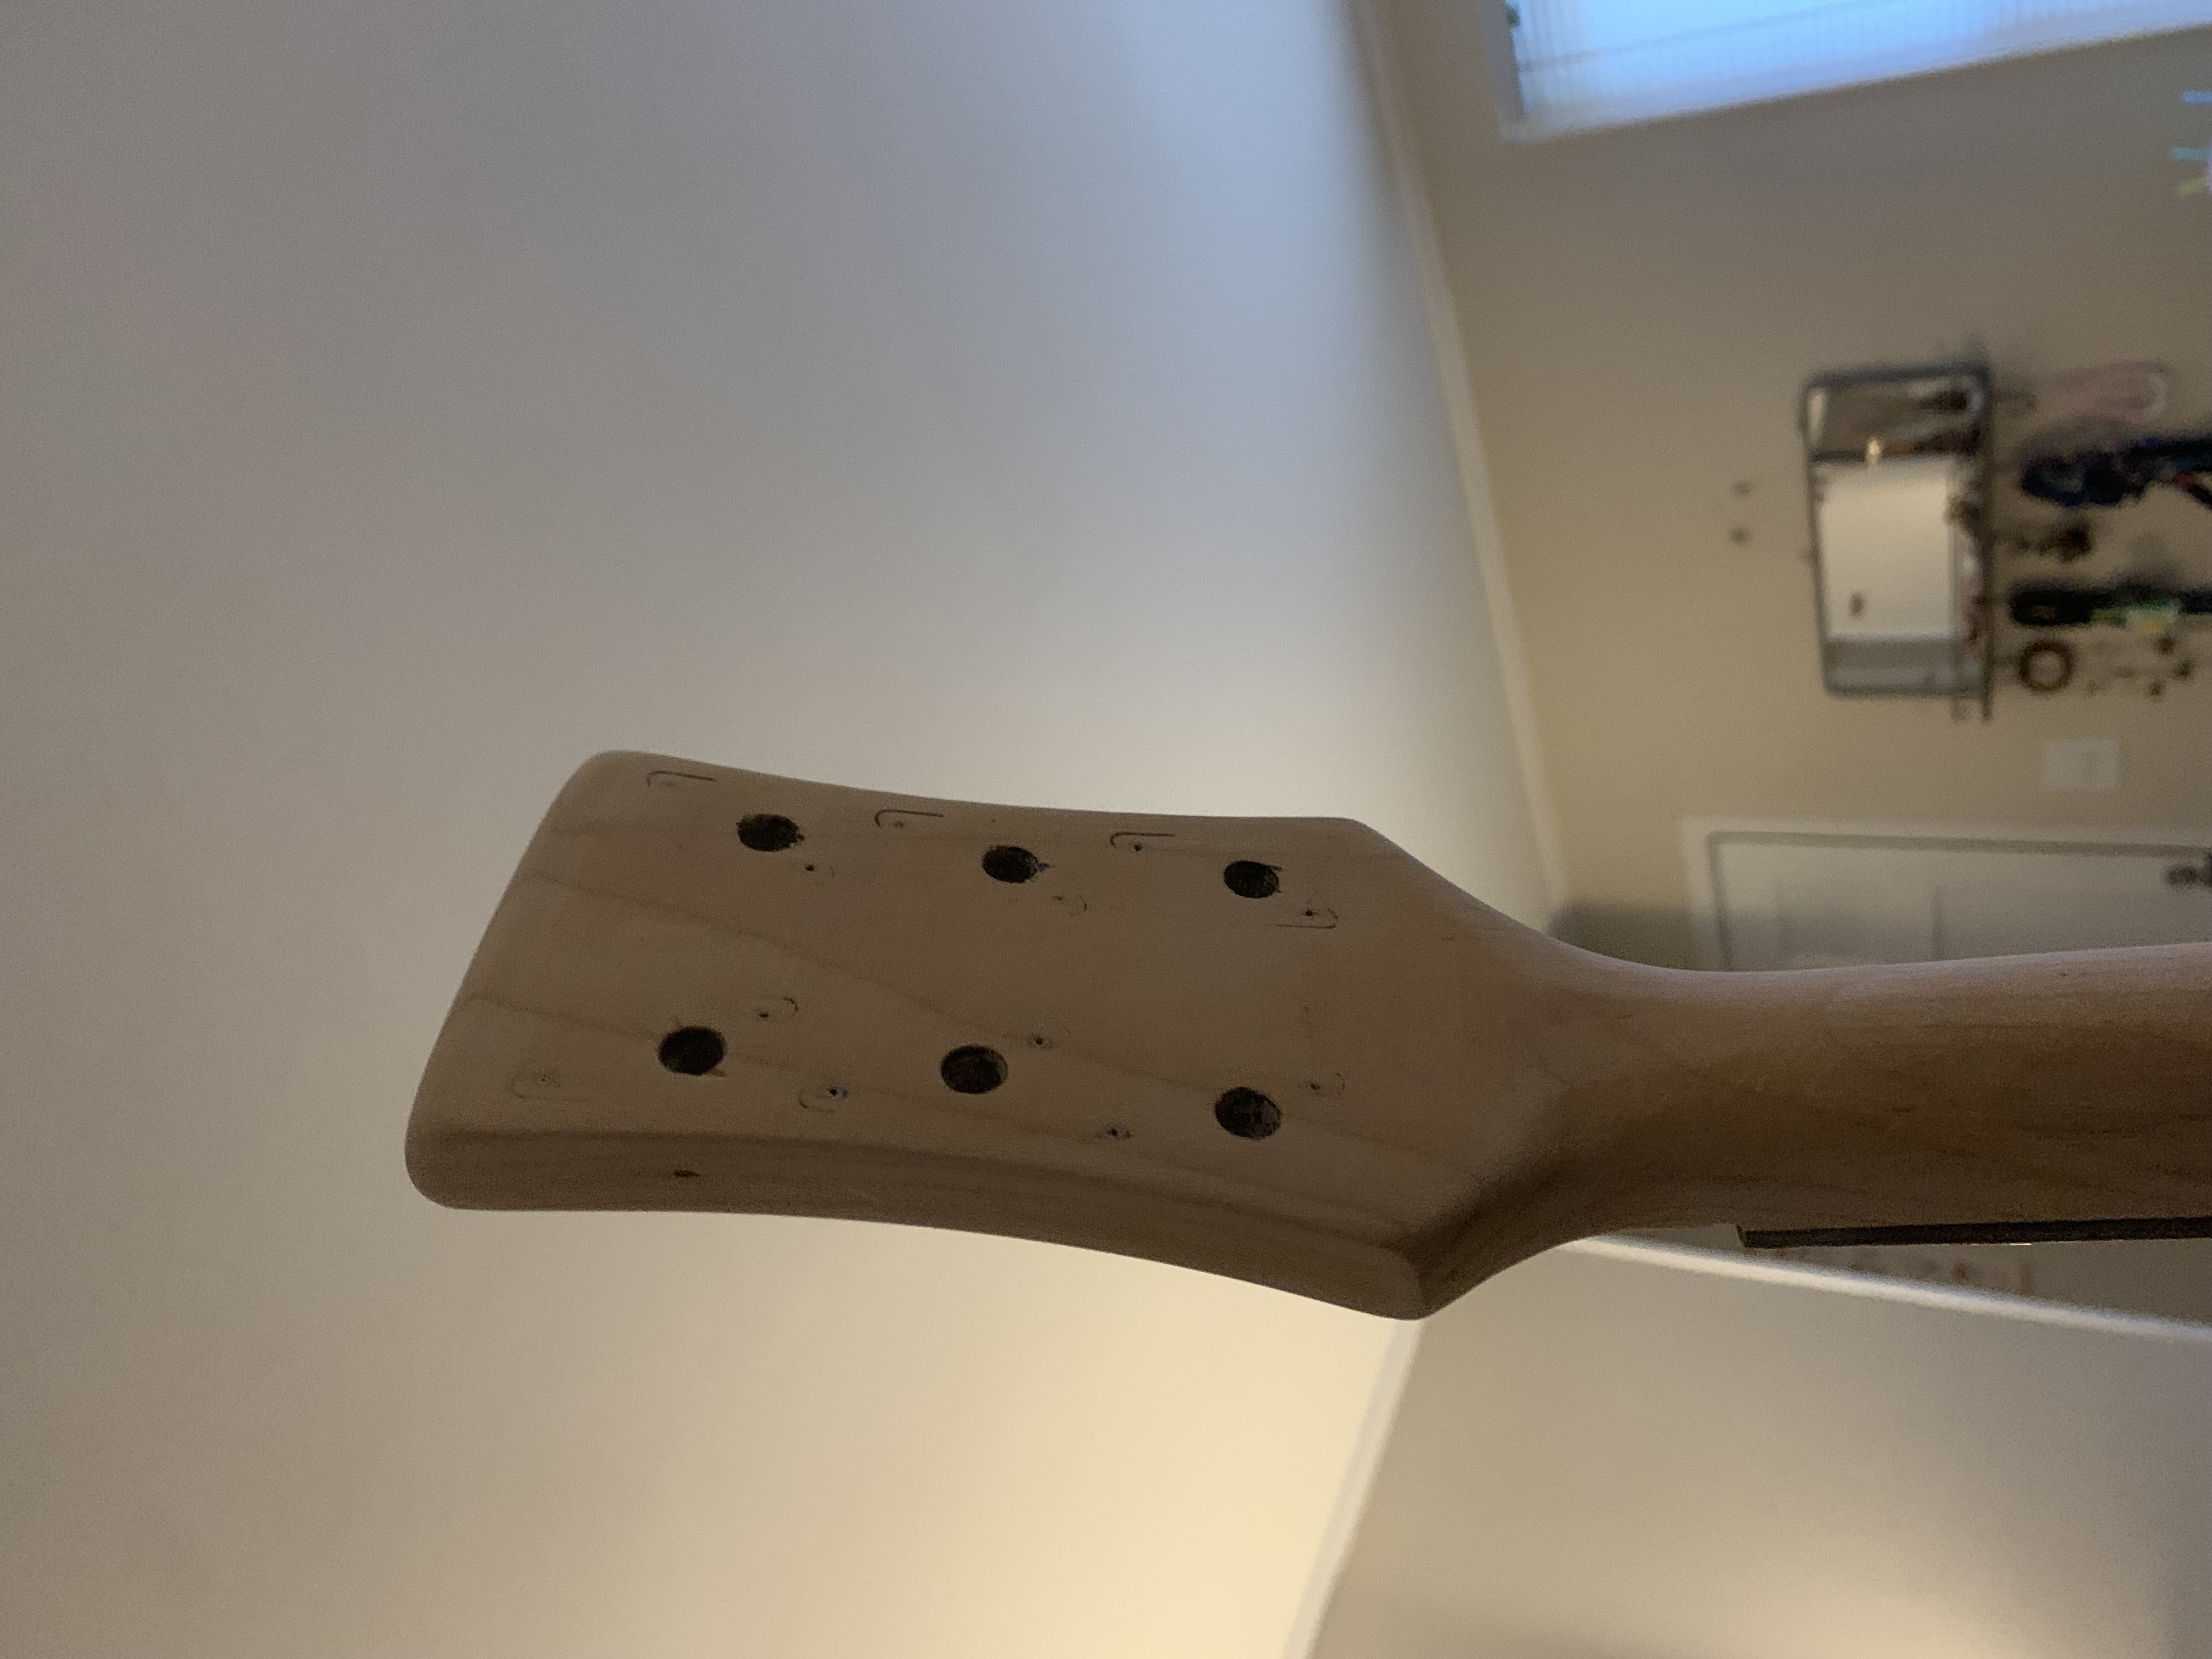
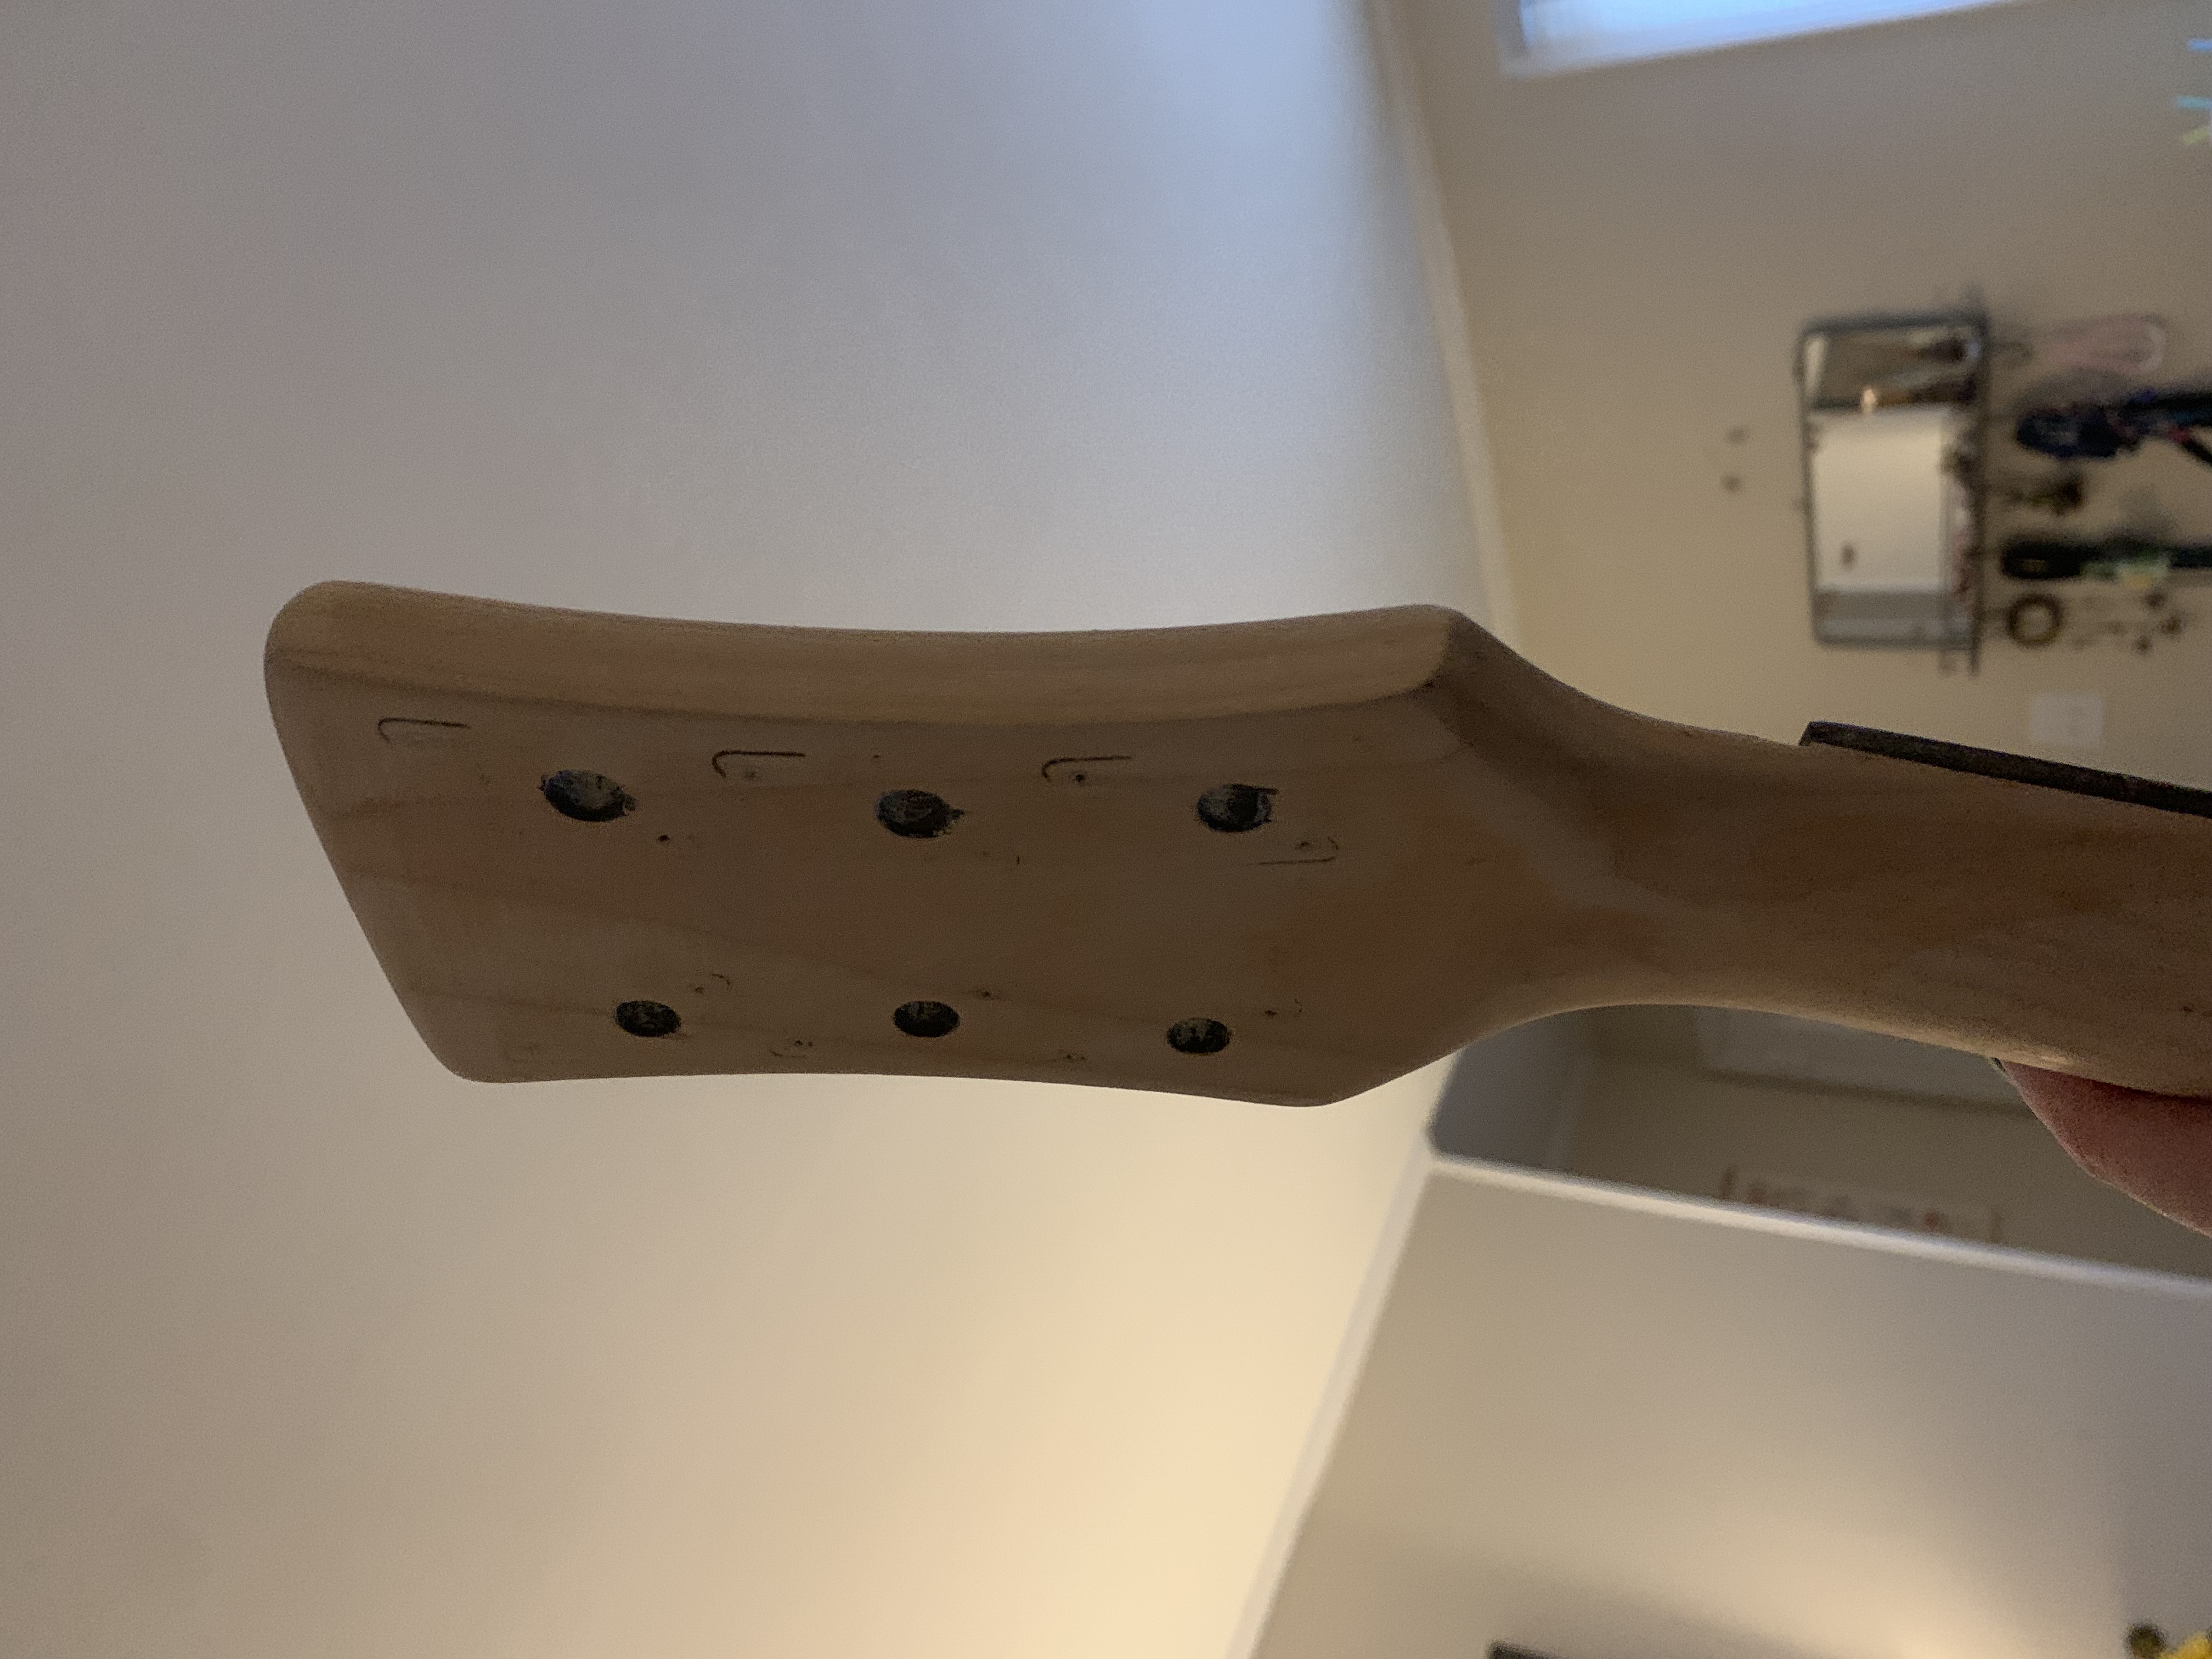
Ah, much better. I finished stripping the rest of the nitro from the headstock.
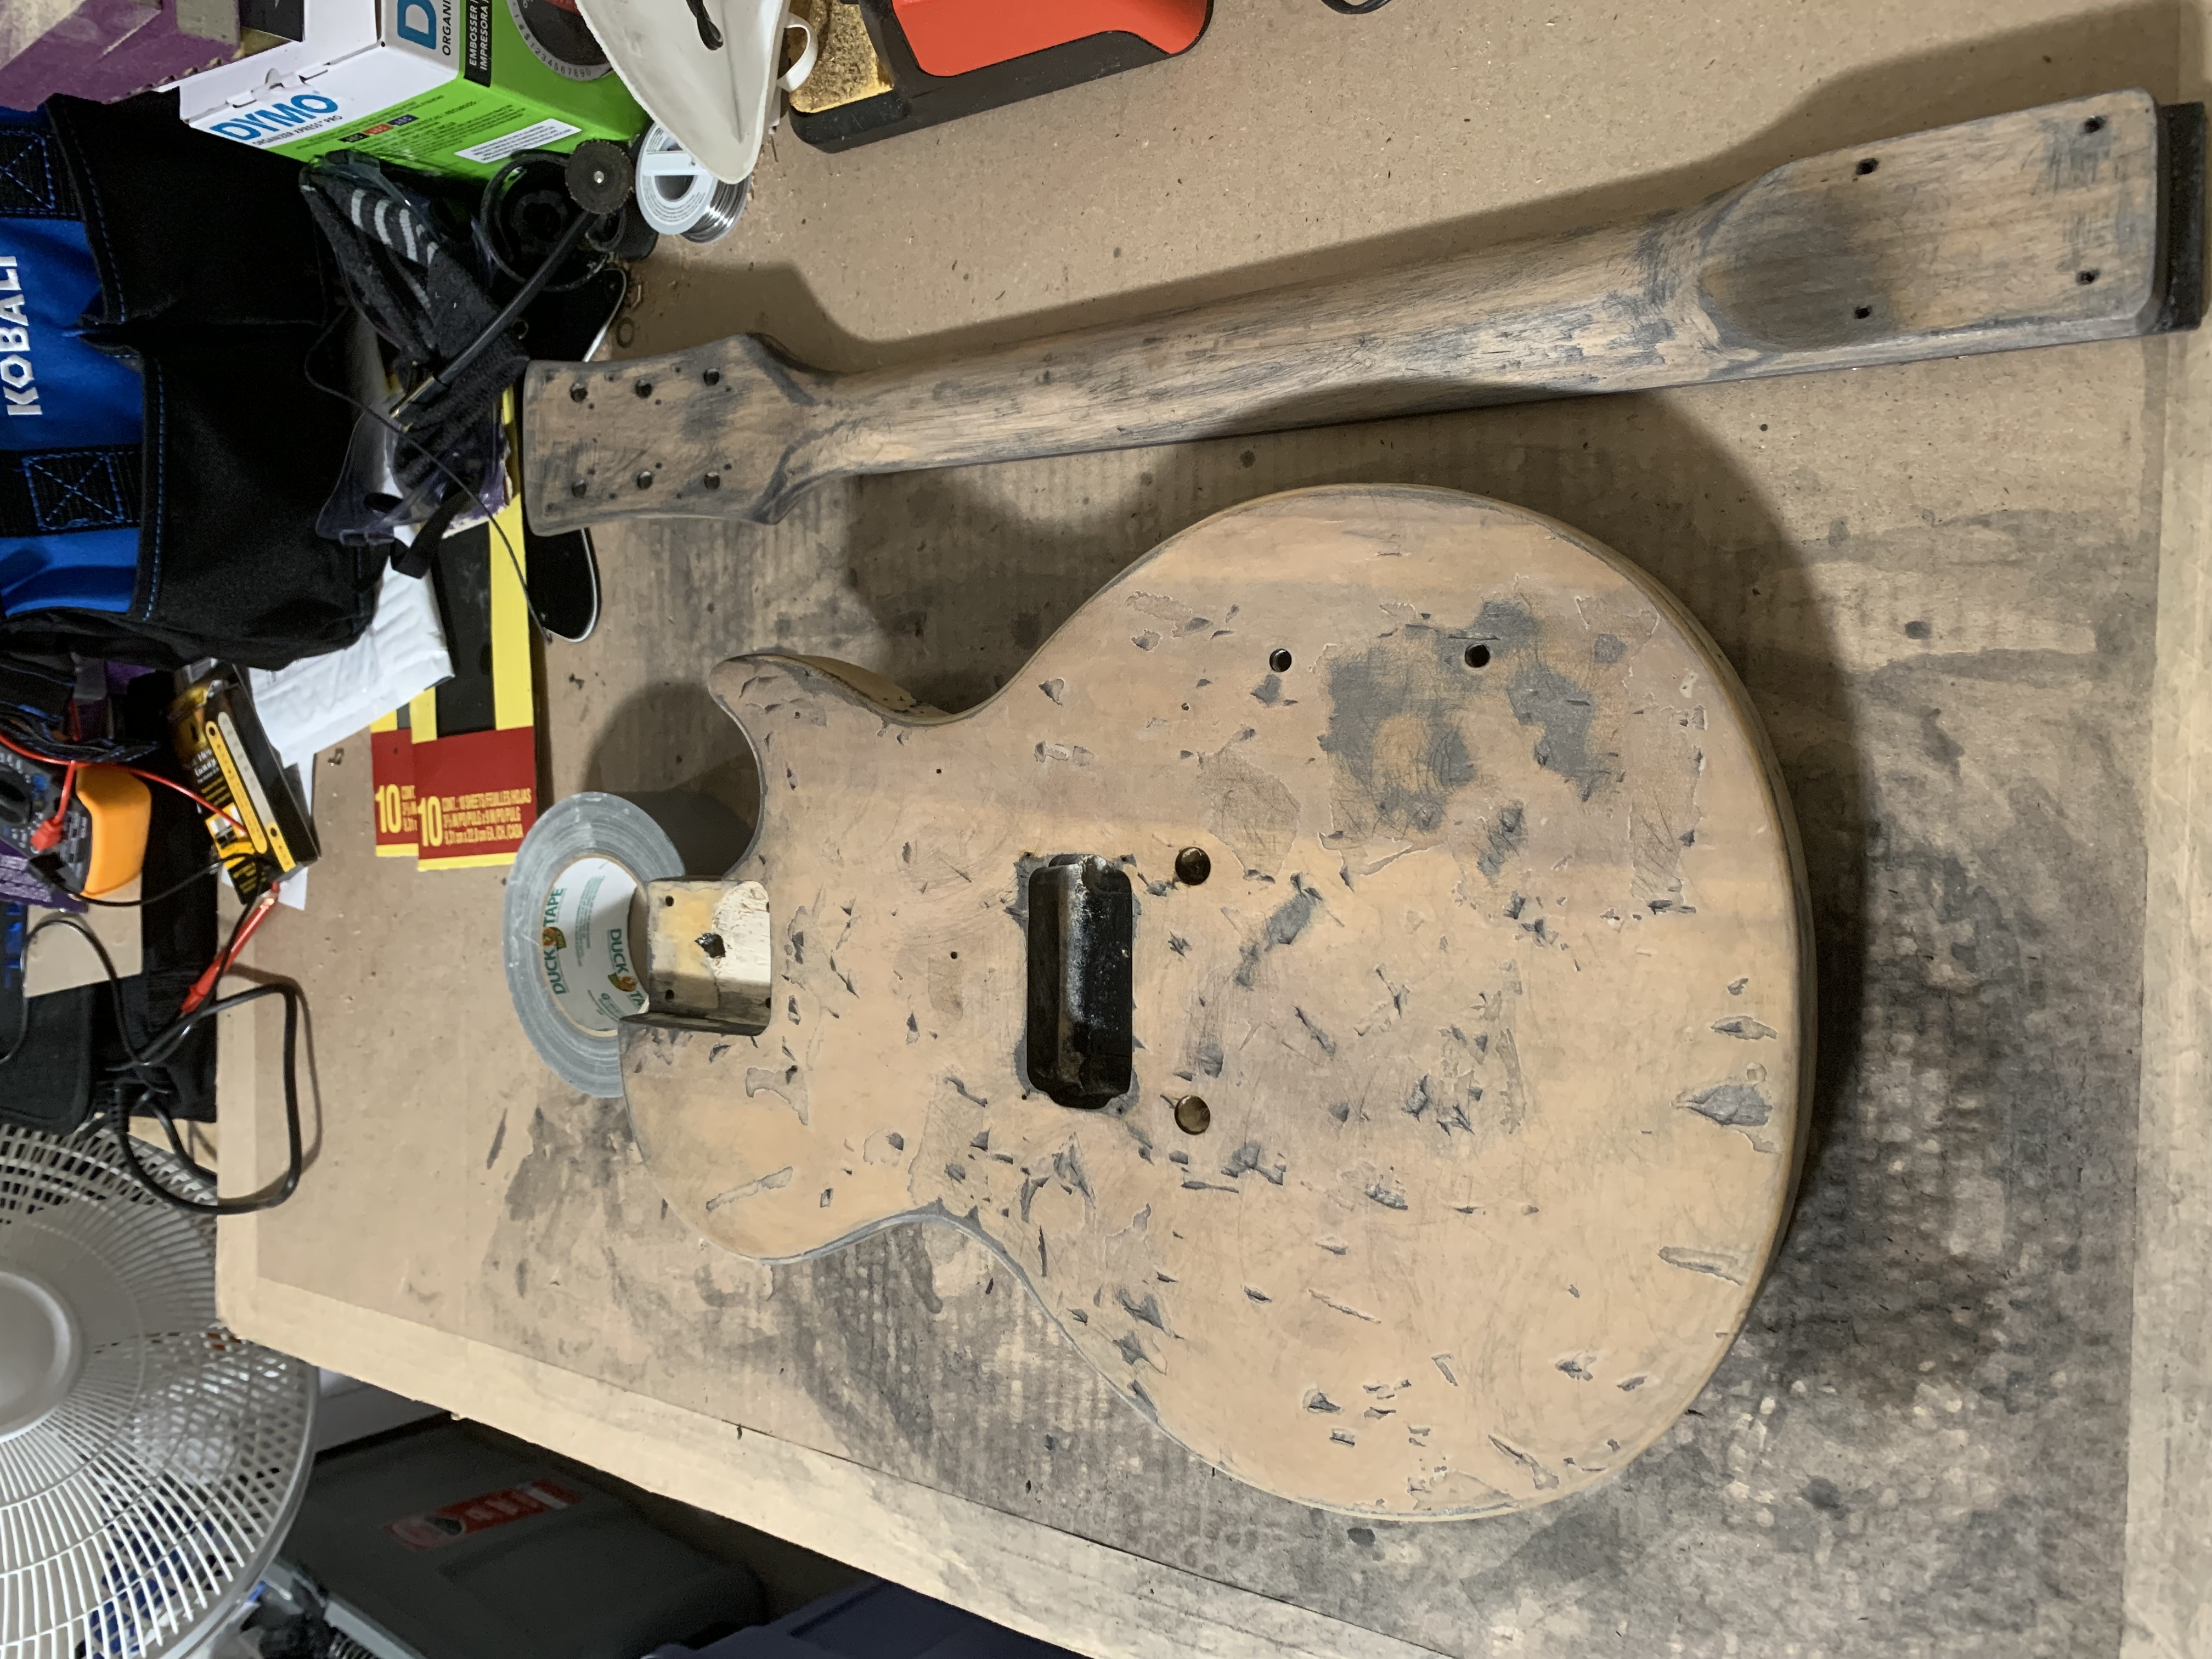
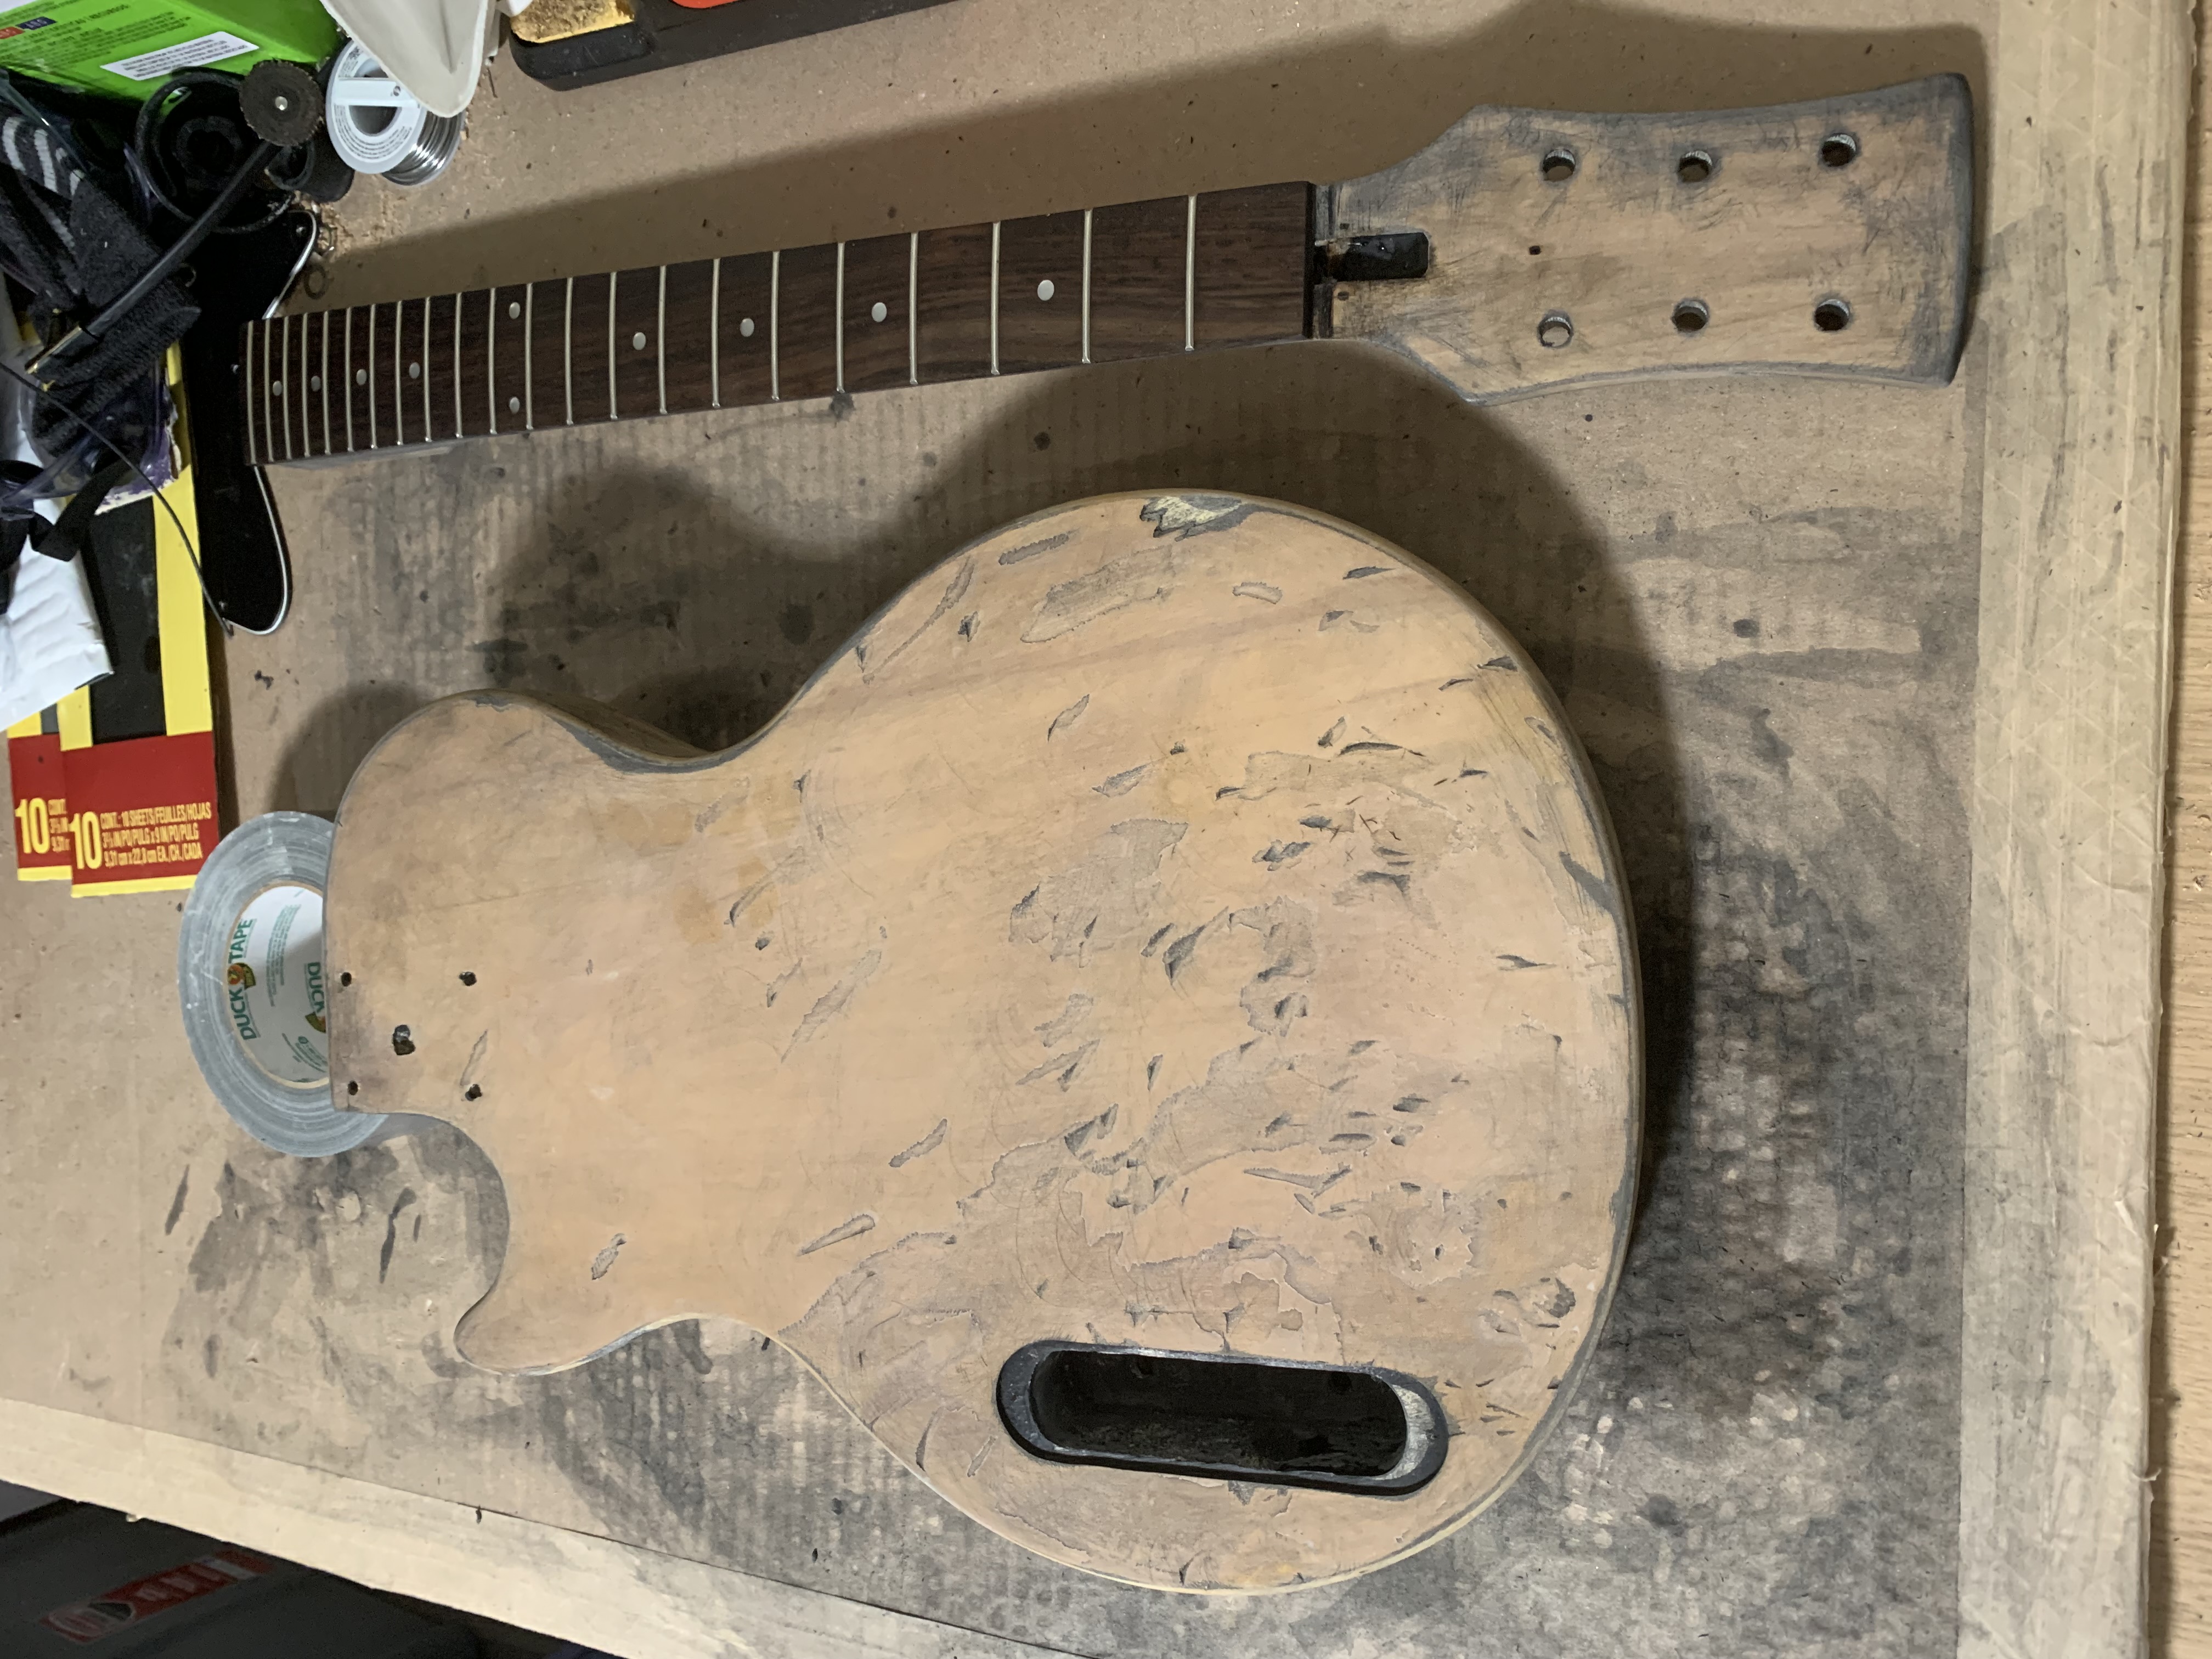
it’s sooo haggard #
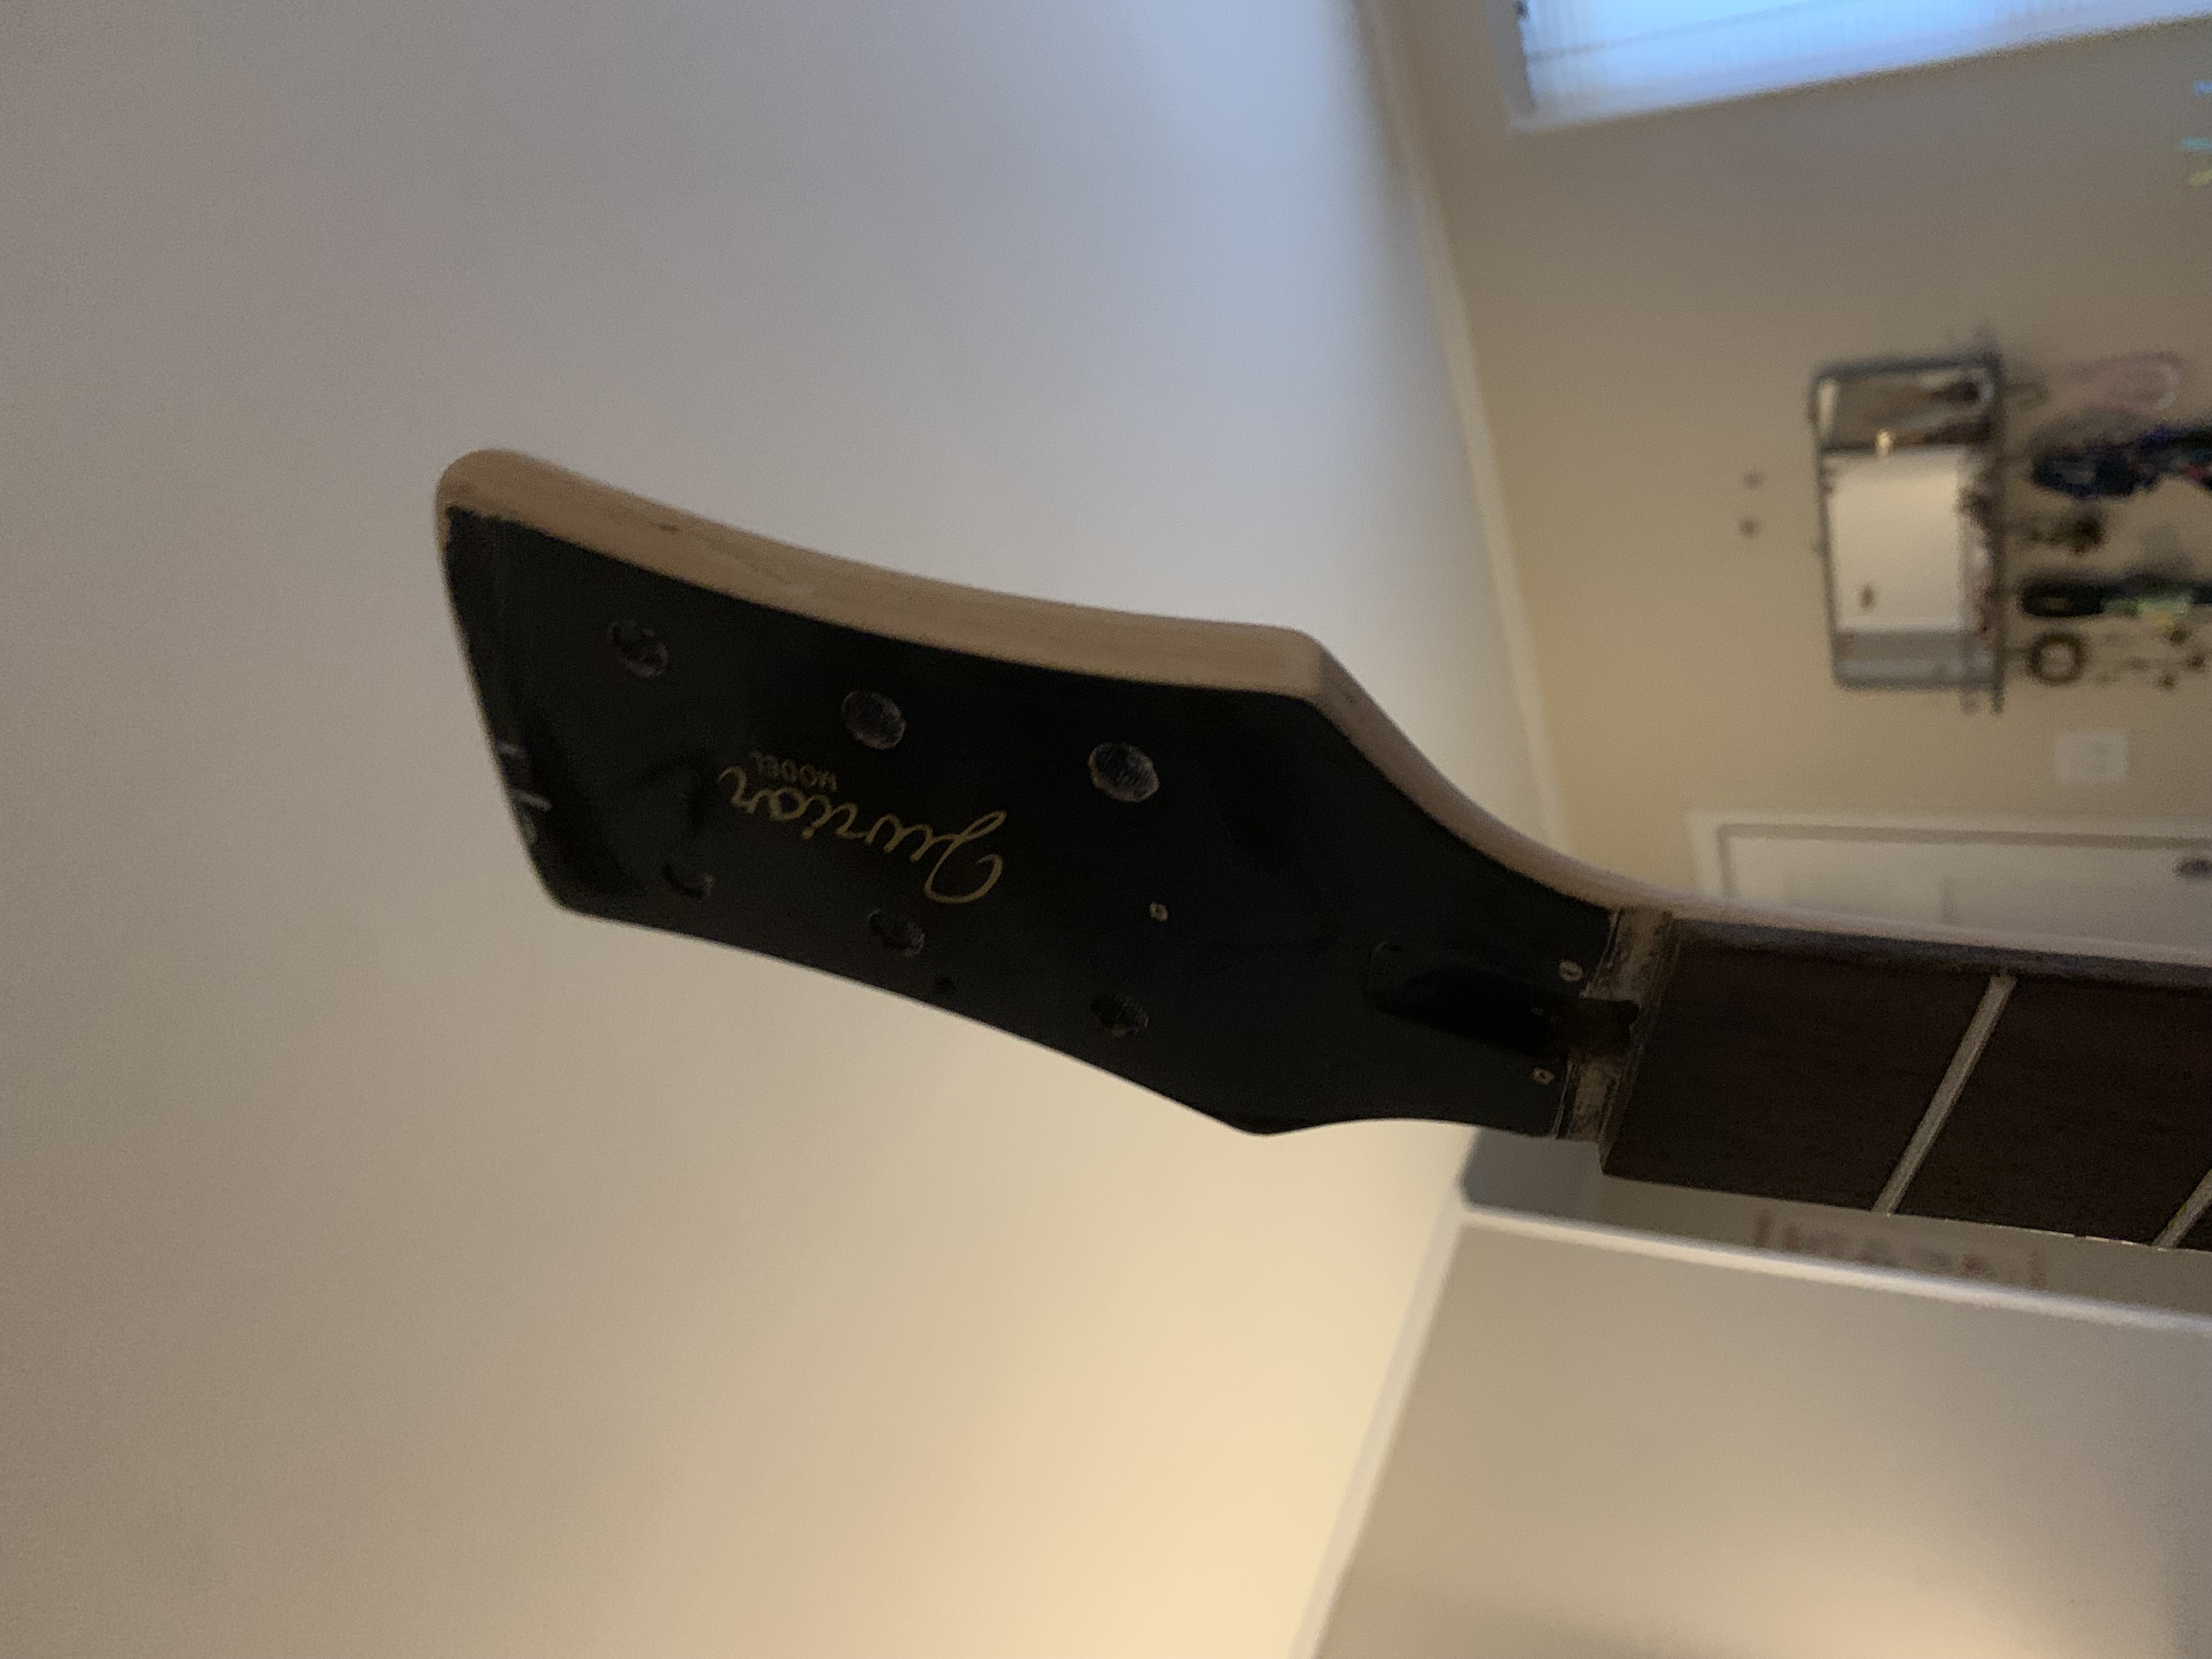
A little note here about just how messed up the wood looks… this isn’t what I planned when I started removing the nitrocellulose finish. While I was researching removing finish from guitars, several posts and videos talked about heating it up with a heat gun, then just peeling it off. Well, I was so worried about setting my guitar on fire, or scorching the wood, that I didn’t turn the heat up hot enough. That meant doing a lot of chipping with a blade, which made lots of gouges out of the top. Keep that going for several nights and I started to get sloppy and started not really caring if I took the veneer off (it’s veneer on top of a three part alder body, which is a great wood to work with). I was planning on sanding all of the veneer off after I was done anyway.
Fast forward to last night, I really liked how messed up it looked. None of it was intentional, but I decided to go with it and see how it turned out anyway. I’m very glad I did because this ugly mf’ing guitar is exactly what I wanted to build. What I originally envisioned was a heavy, dark, gritty looking guitar with a dark and articulate sound; I’ve since purchased an Antiquity P90 pickup and Bumblebee capped wiring harness (with a custom bone nut and compensated wraparound tailpiece), but more on that later. Dark and ugly are a part of who we are and sometimes I want that in my guitar to make music. I’m satisfied that’s where this build it heading.
stain it good #
Back to the stain.
I wanted a subtle stain as a base, so ended up going with iron oxide. This produced some very dark highlights in the cracks, scratches, and gouges. Lovely.
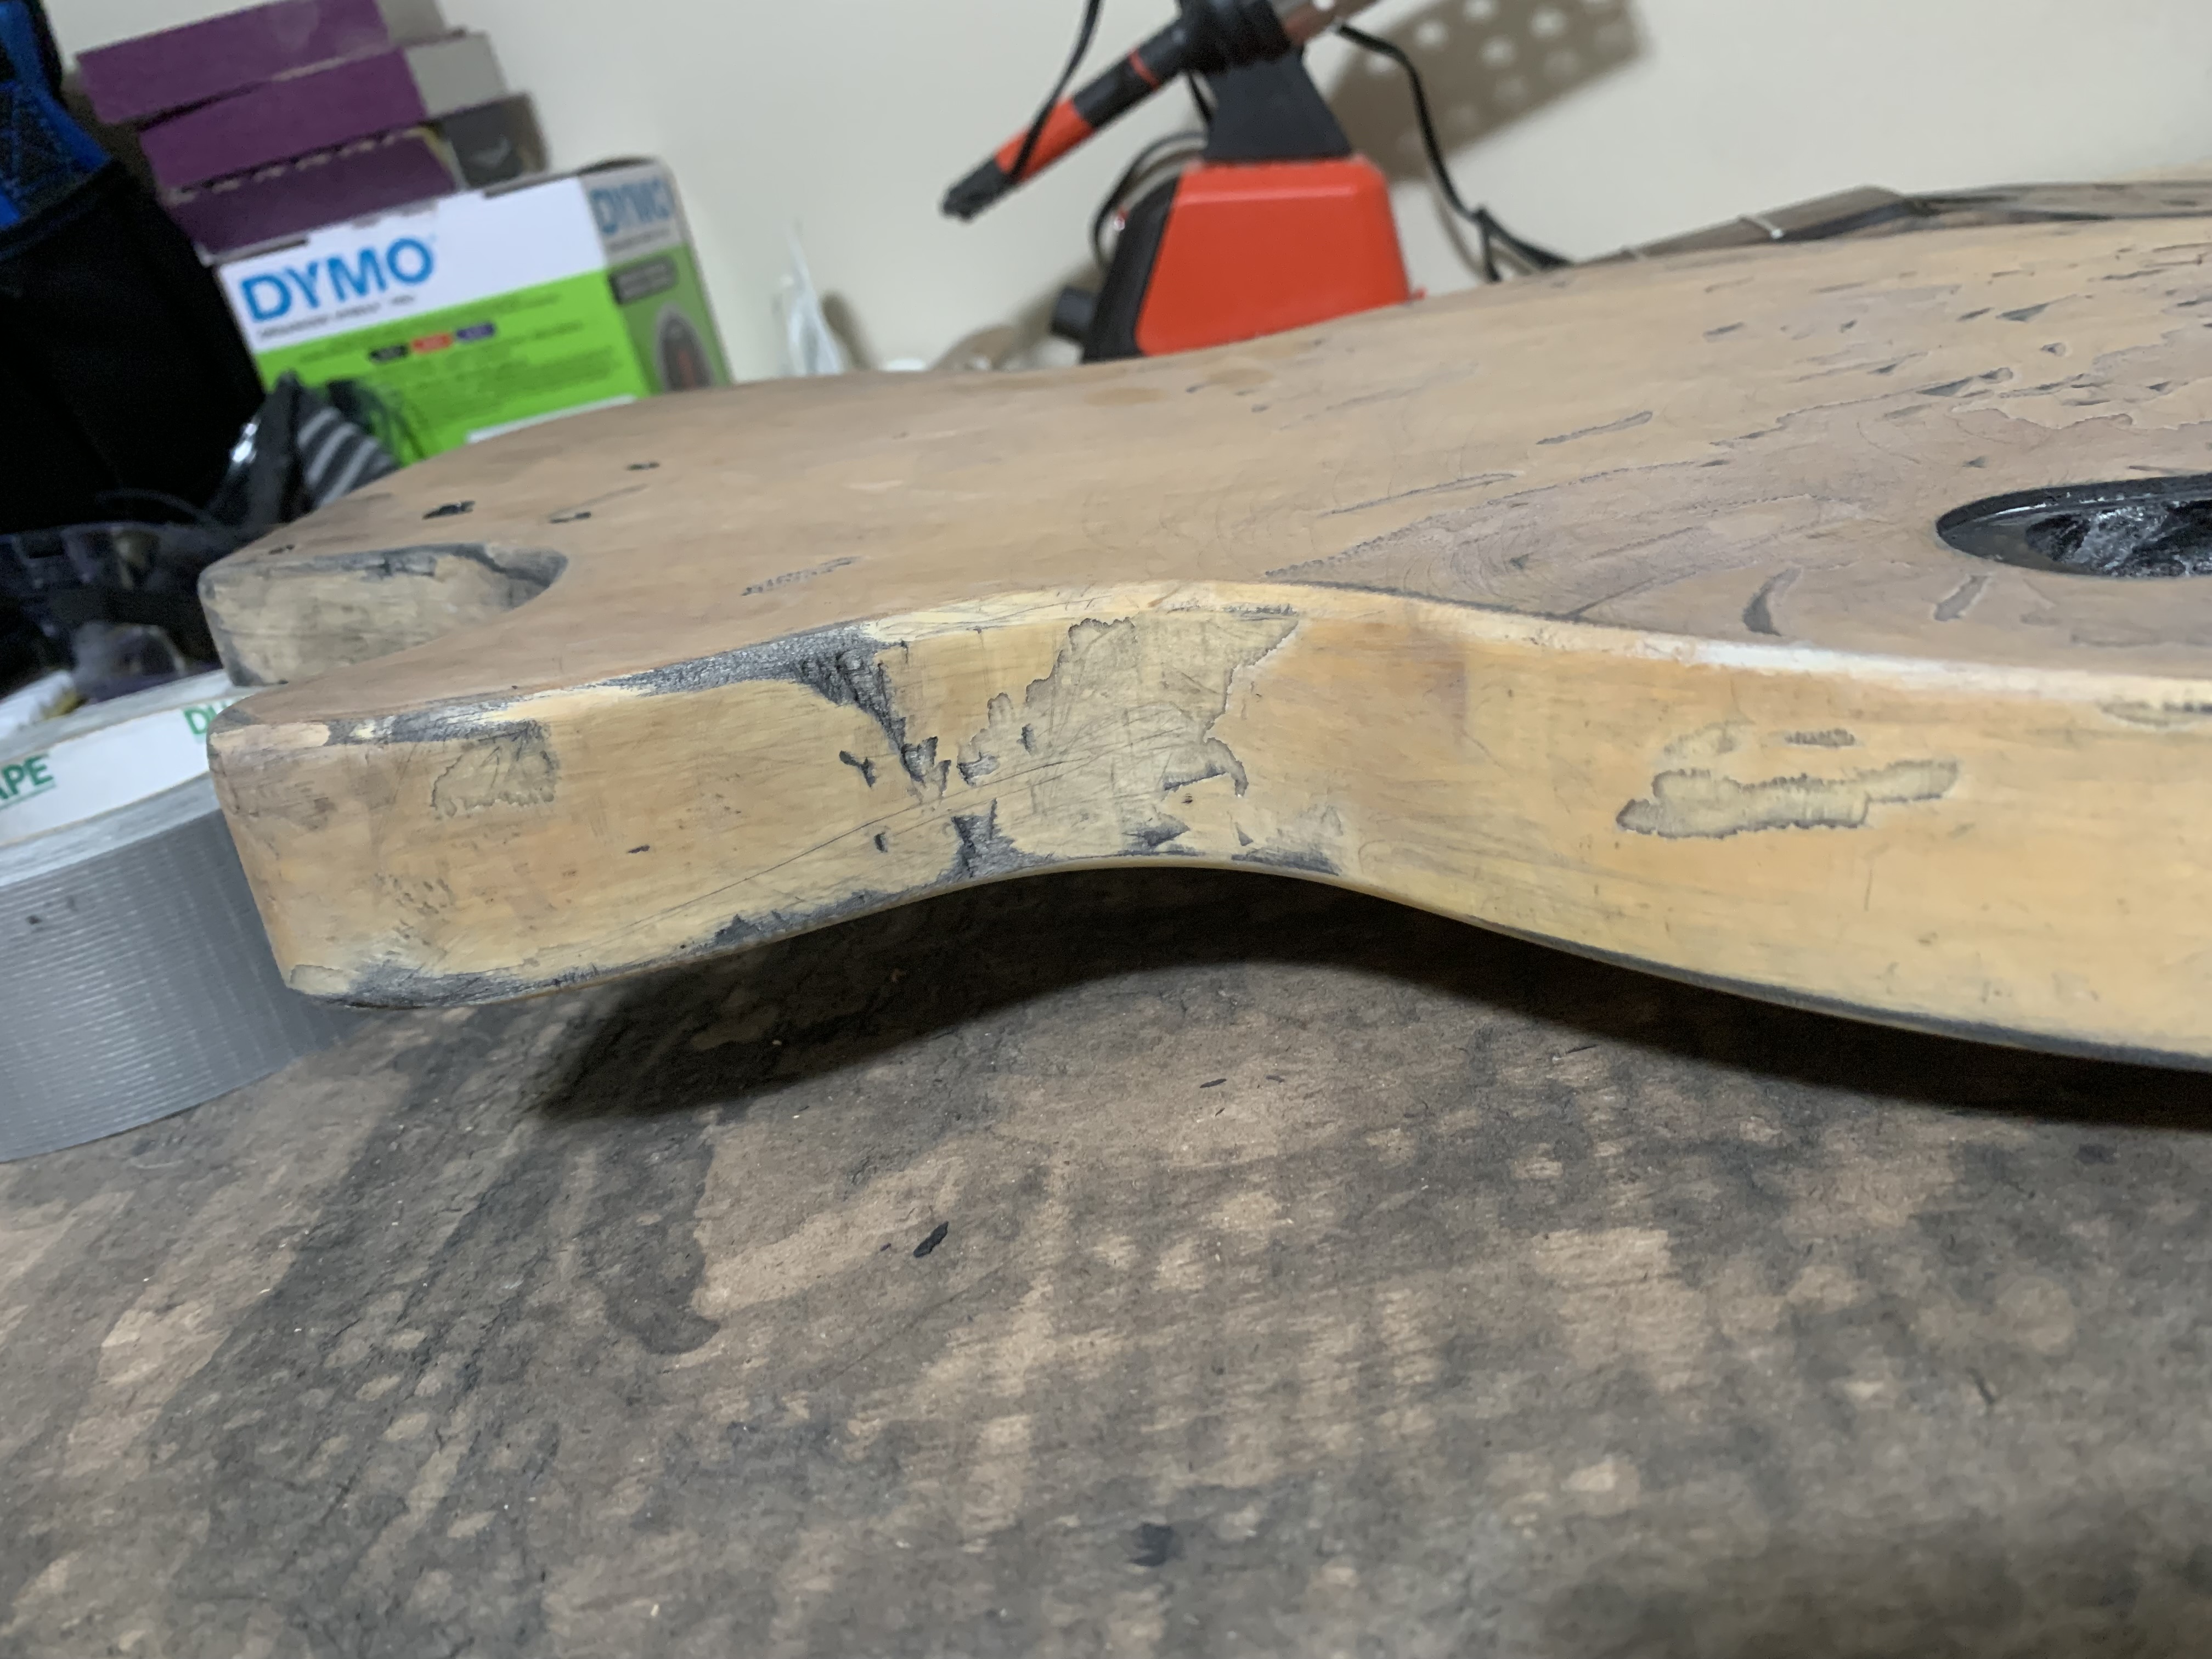

Lovely nasty details. And since the pictures don’t capture it well, the iron ozide reflects the light as you move it around. Think like fresh pencil on quality paper, but with more metal reflection. It’s magnificent.
next steps #
I’m letting the stain dry overnight then planning next steps. I may continue with more layers of stain or apply a matte finish. As soon as the finish is done I’ll start installing the electronics, tuning machines, and bone nut. Still undecided about the pickguard.