the salvage guy of guitars #
The other day my friend Clay from Franklin Music messaged me asking if I wanted to take on a new project guitar. I’ve jokingly become his salvage guy. Clay had purchased the guitar just for the pickups (and apparently the tuning machines) but didn’t want to invest the time or money to build it back up. Perhaps it was too beat up for the average customer at his shop, or perhaps he wouldn’t get out of it what he would have to put into it. Lucky for him that’s what I like, that’s what I like.
I think this is the beginning of a beautiful friendship #
I hopped in my van and drove the gloriously beautiful trip to Rocky Mount to check it out. Apart from a couple frets that were starting to lift, the overall fret wear is good, but will need a full refret in a few years. A slight leveling might do it good anyway. The neck was straight with no major cracks or damage. I don’t like the look of Stratocasters, but after inspecting and holding this guitar, other than the stale cigarette smell (yuck, but can be cleaned), this guitar had the spark that said, with some work, it would be an excellent instrument I would enjoy playing.
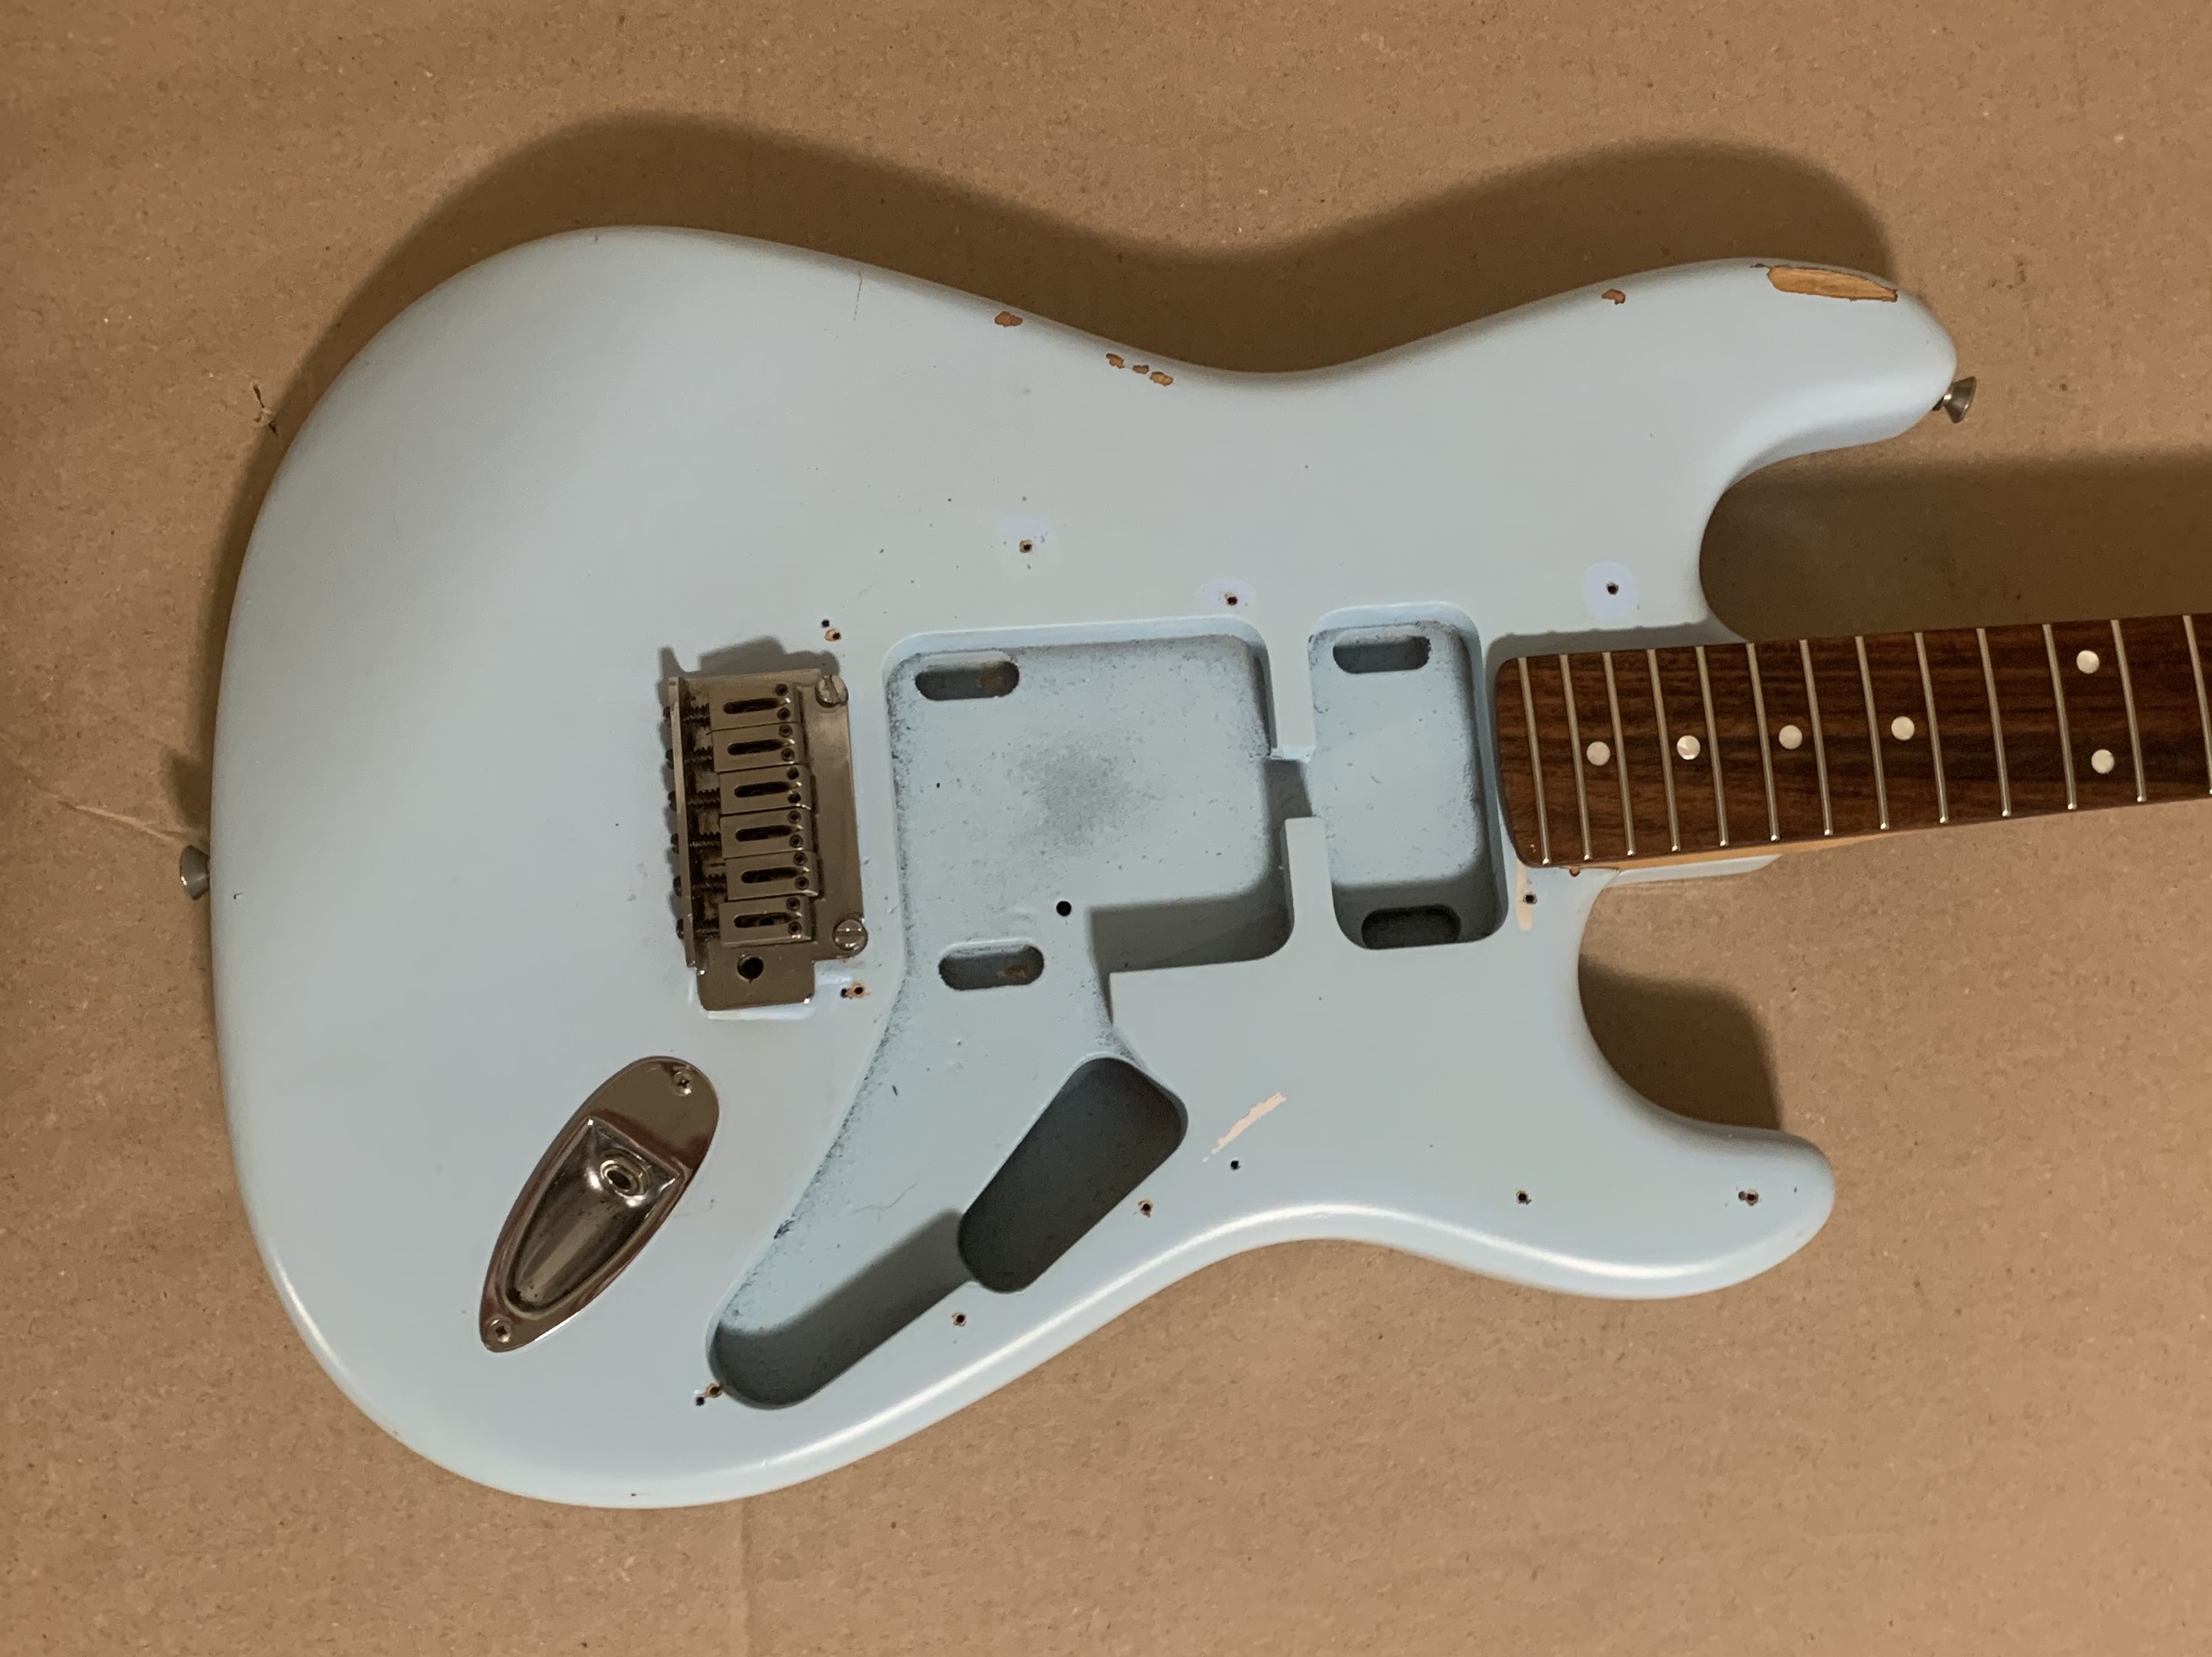
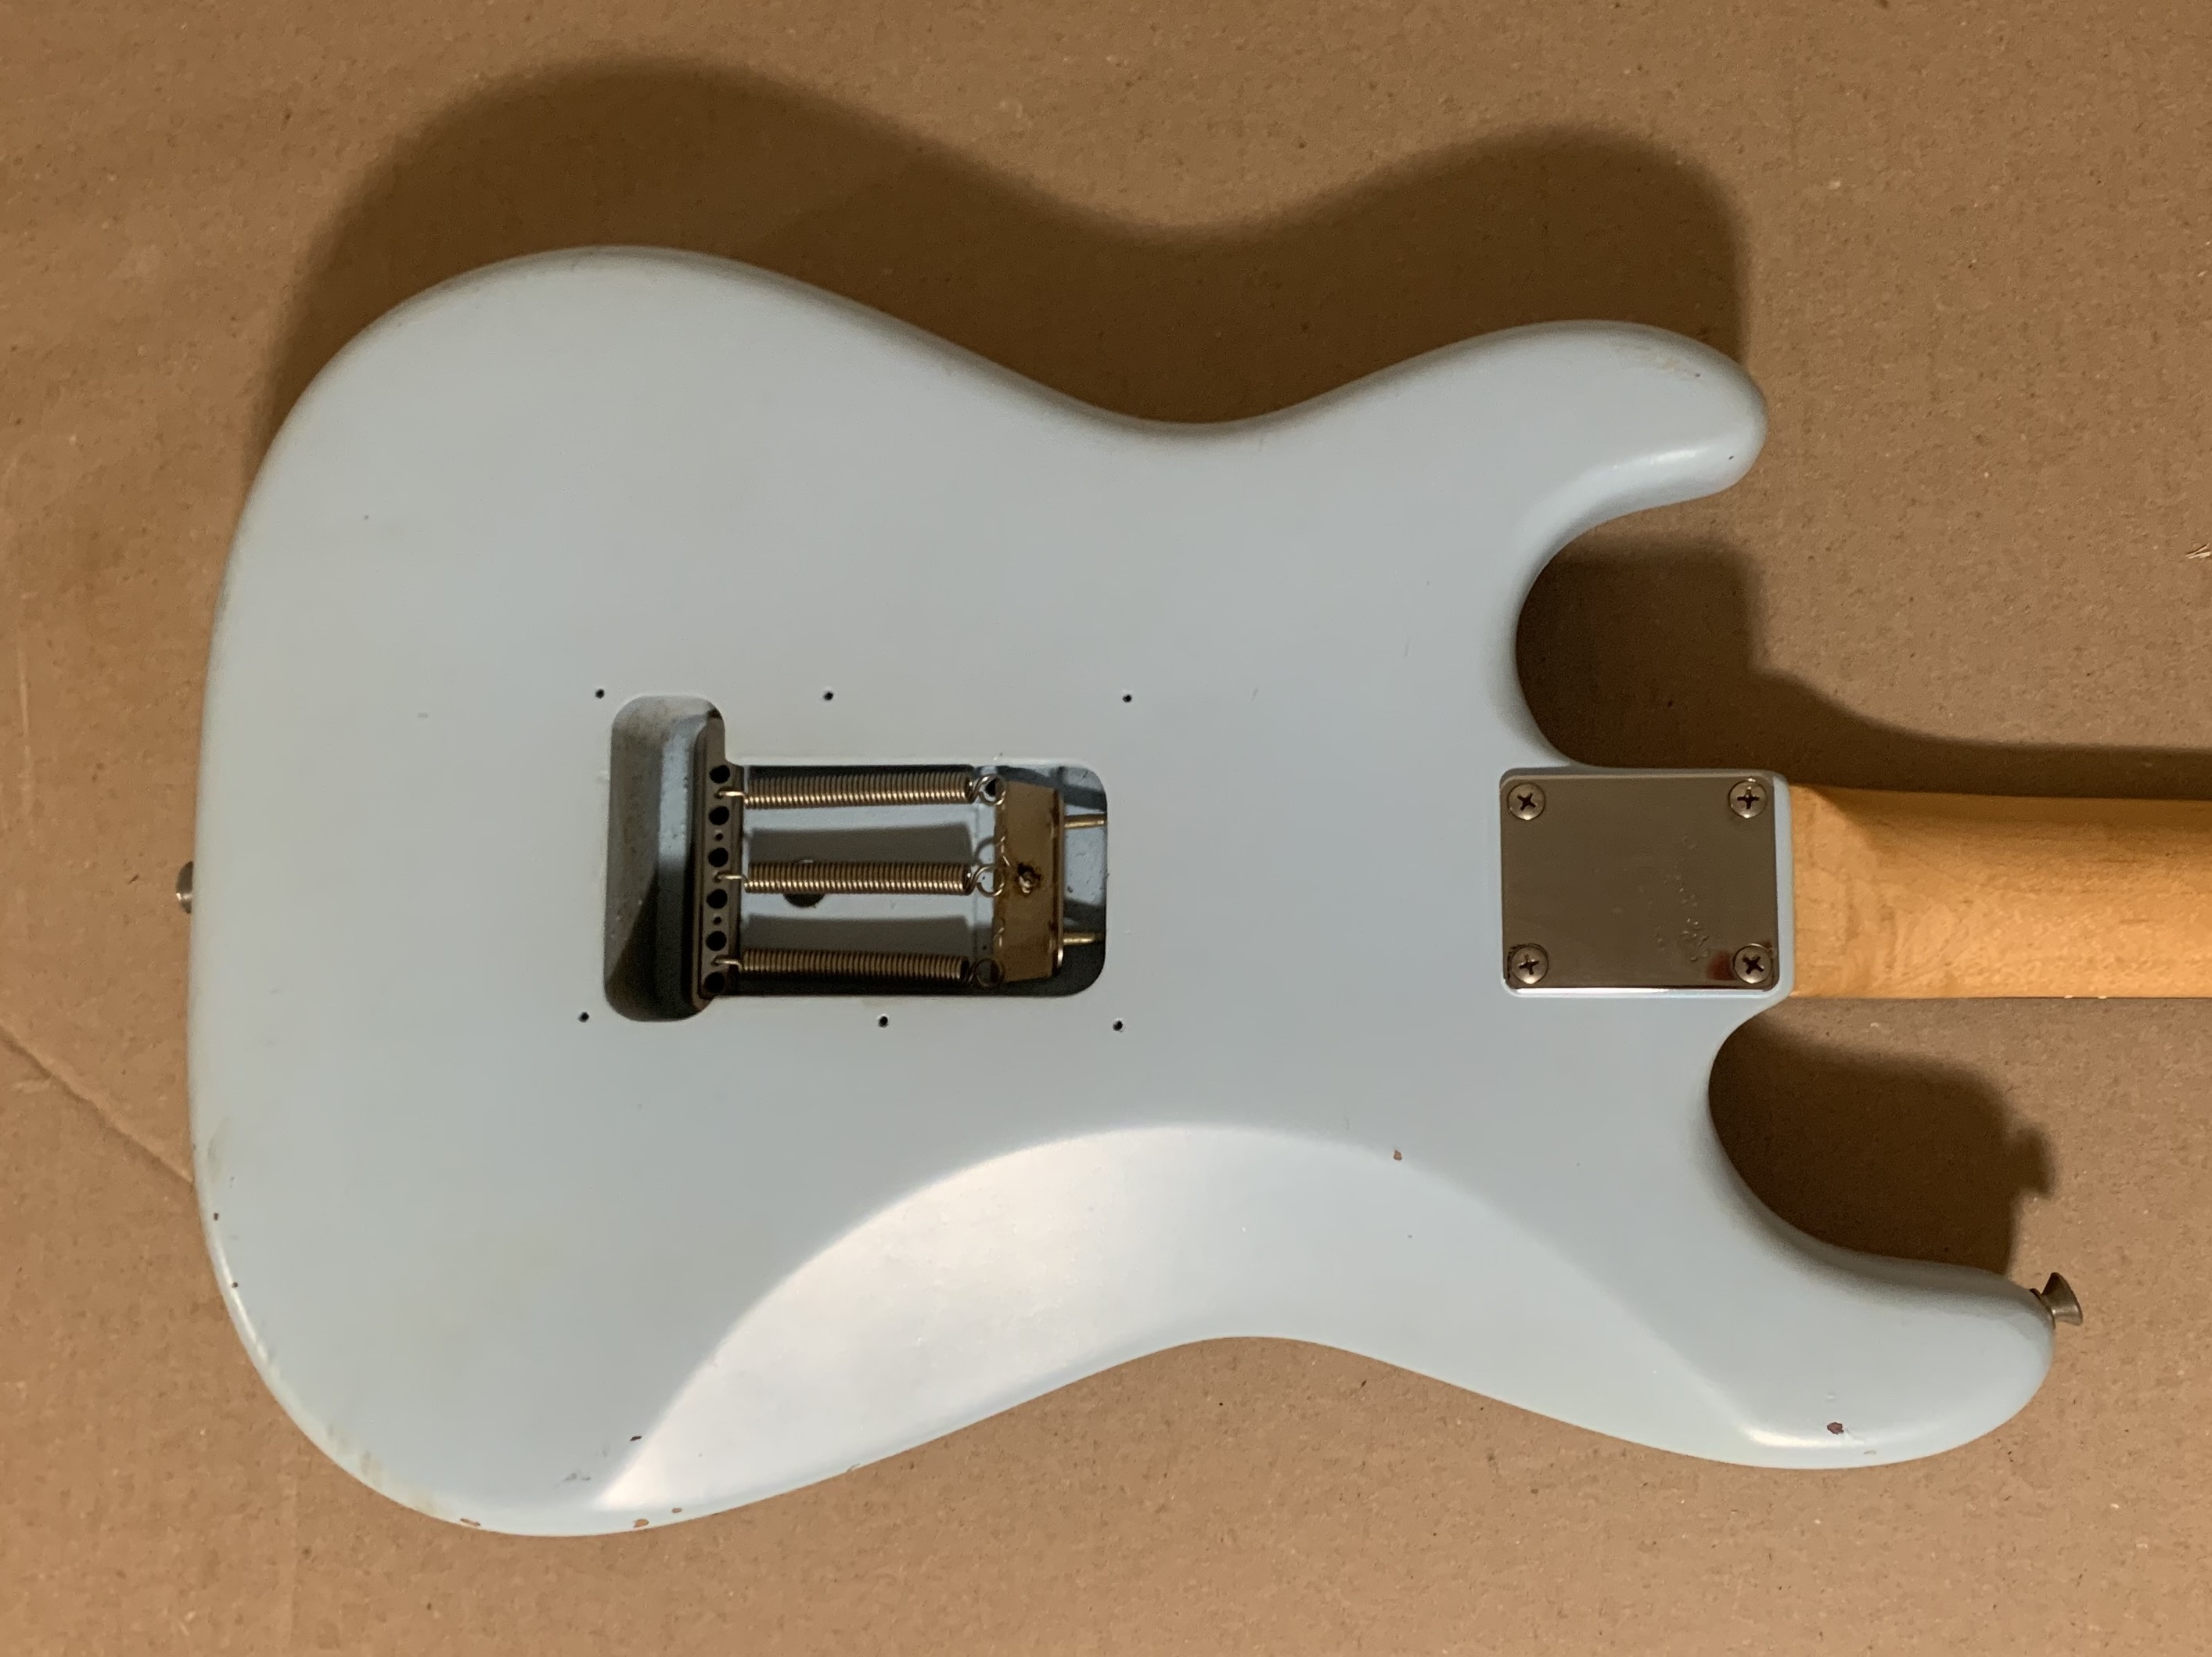
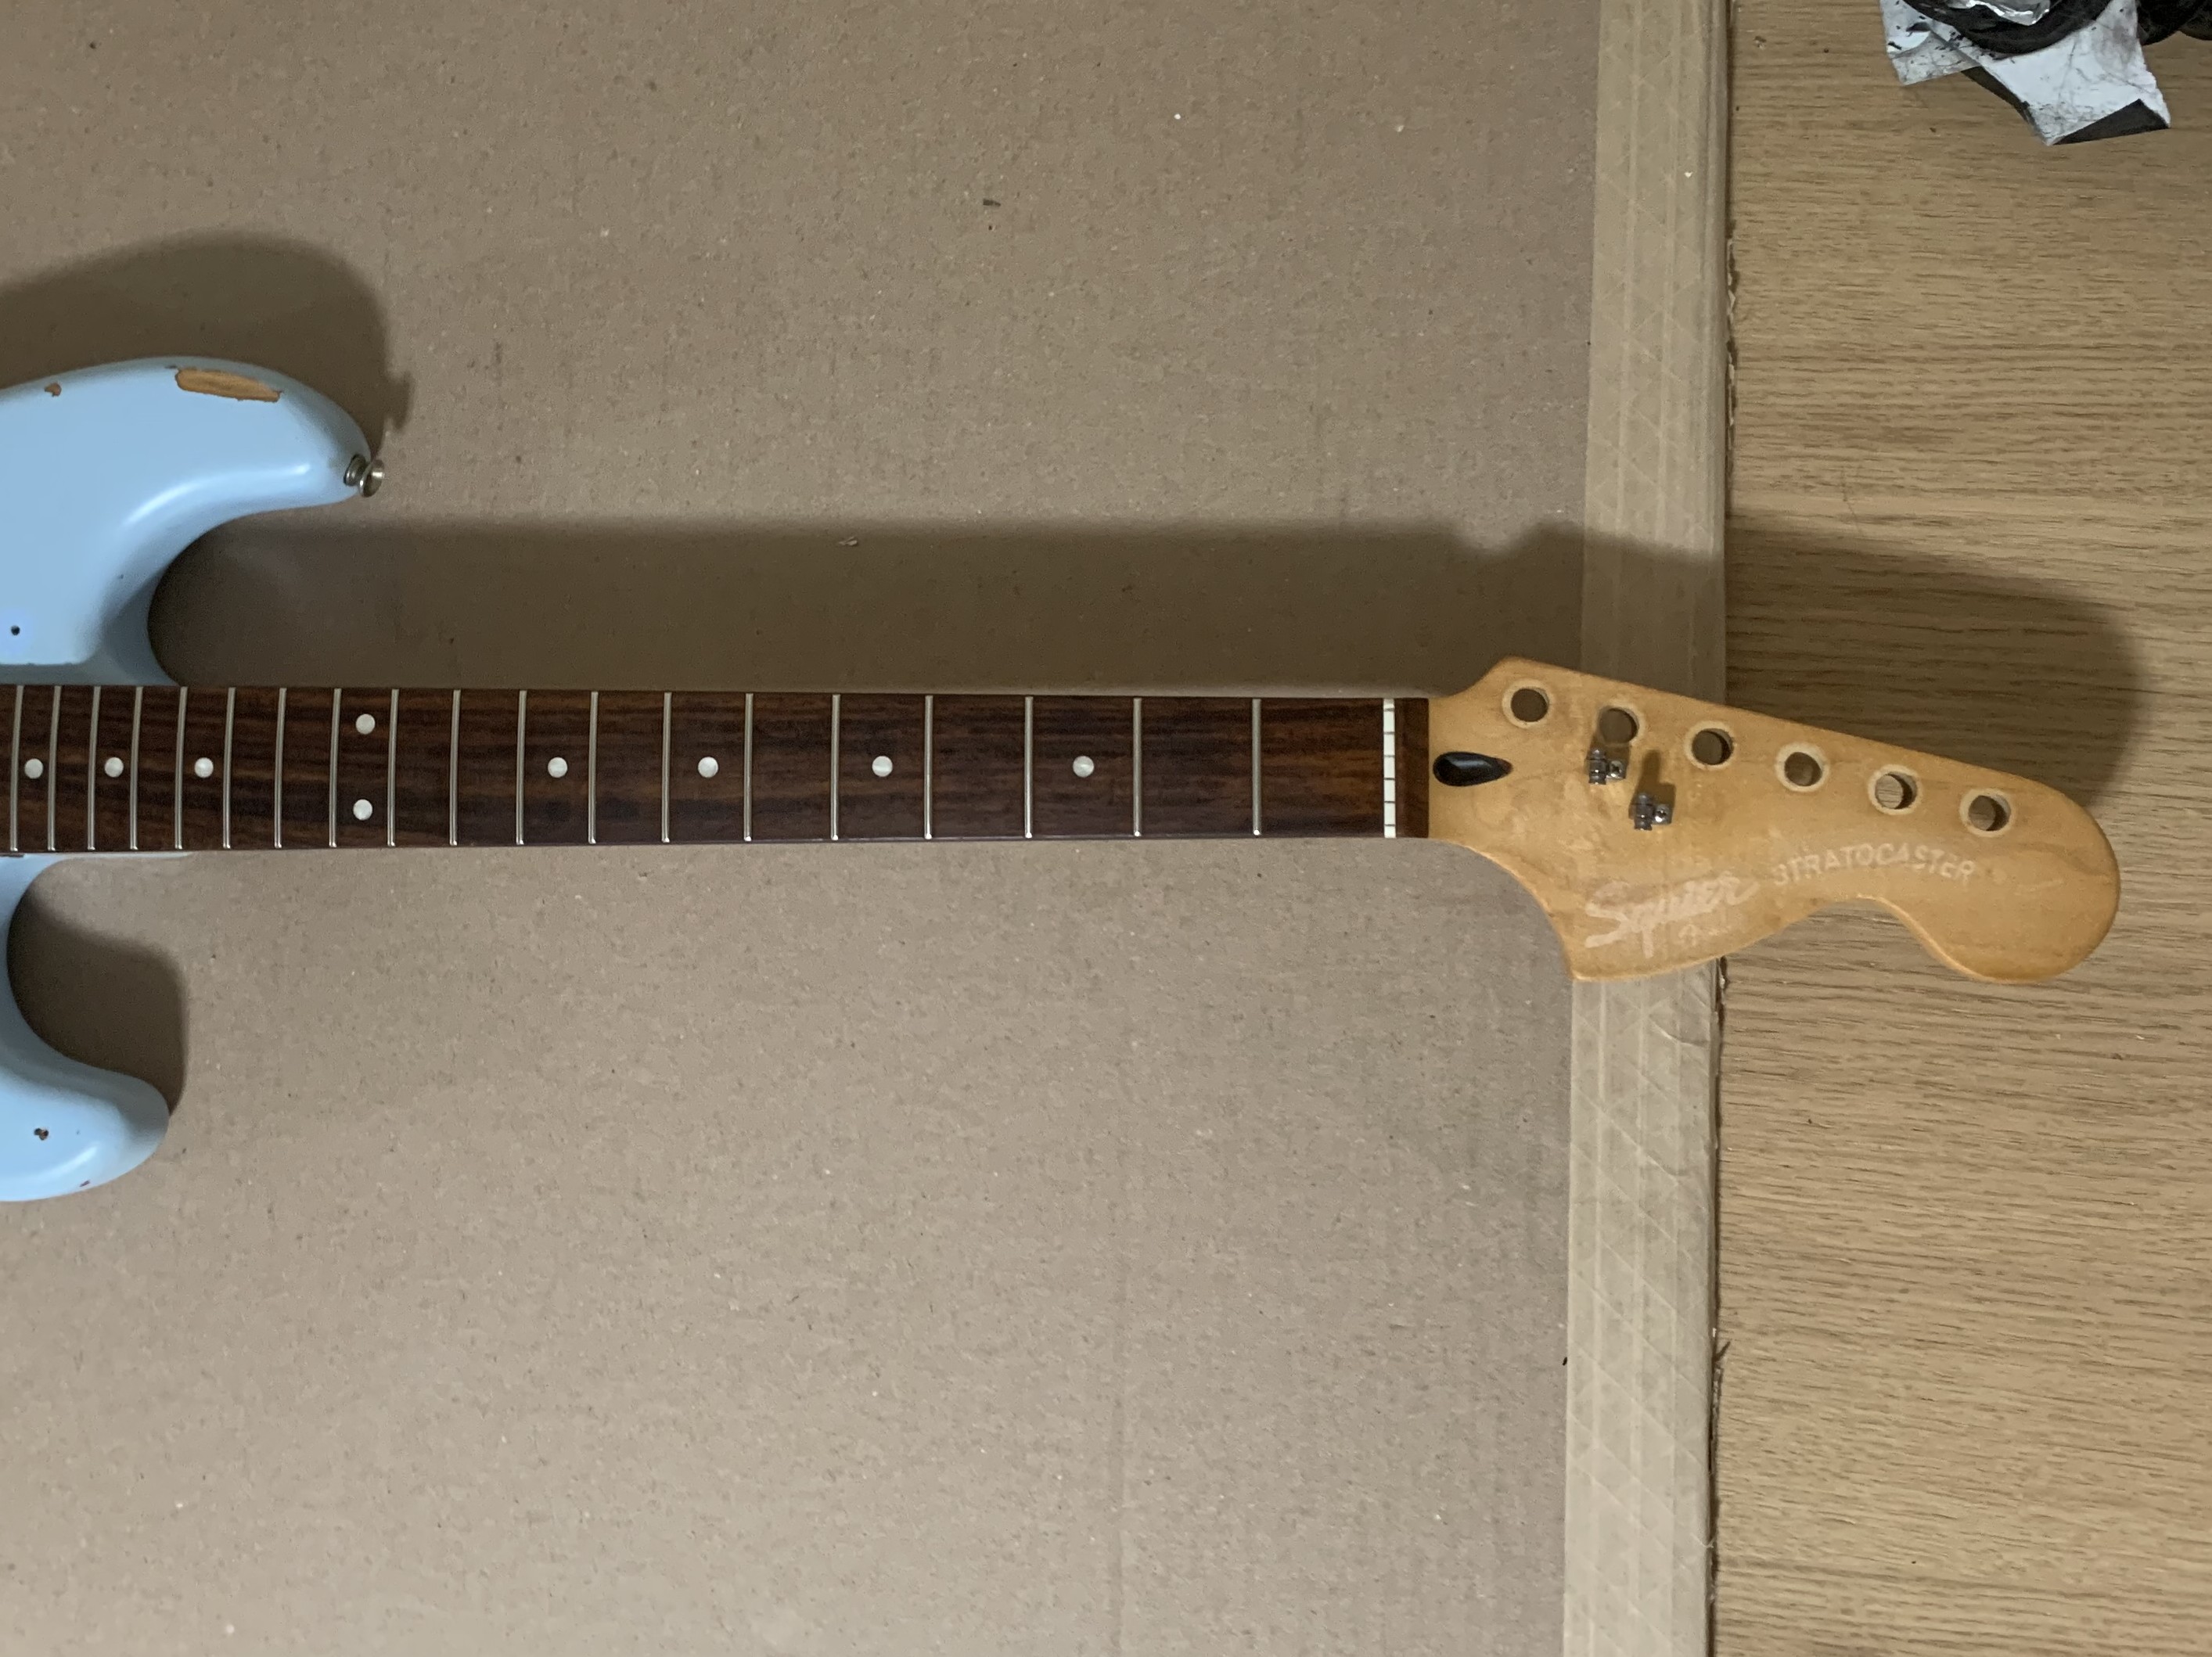
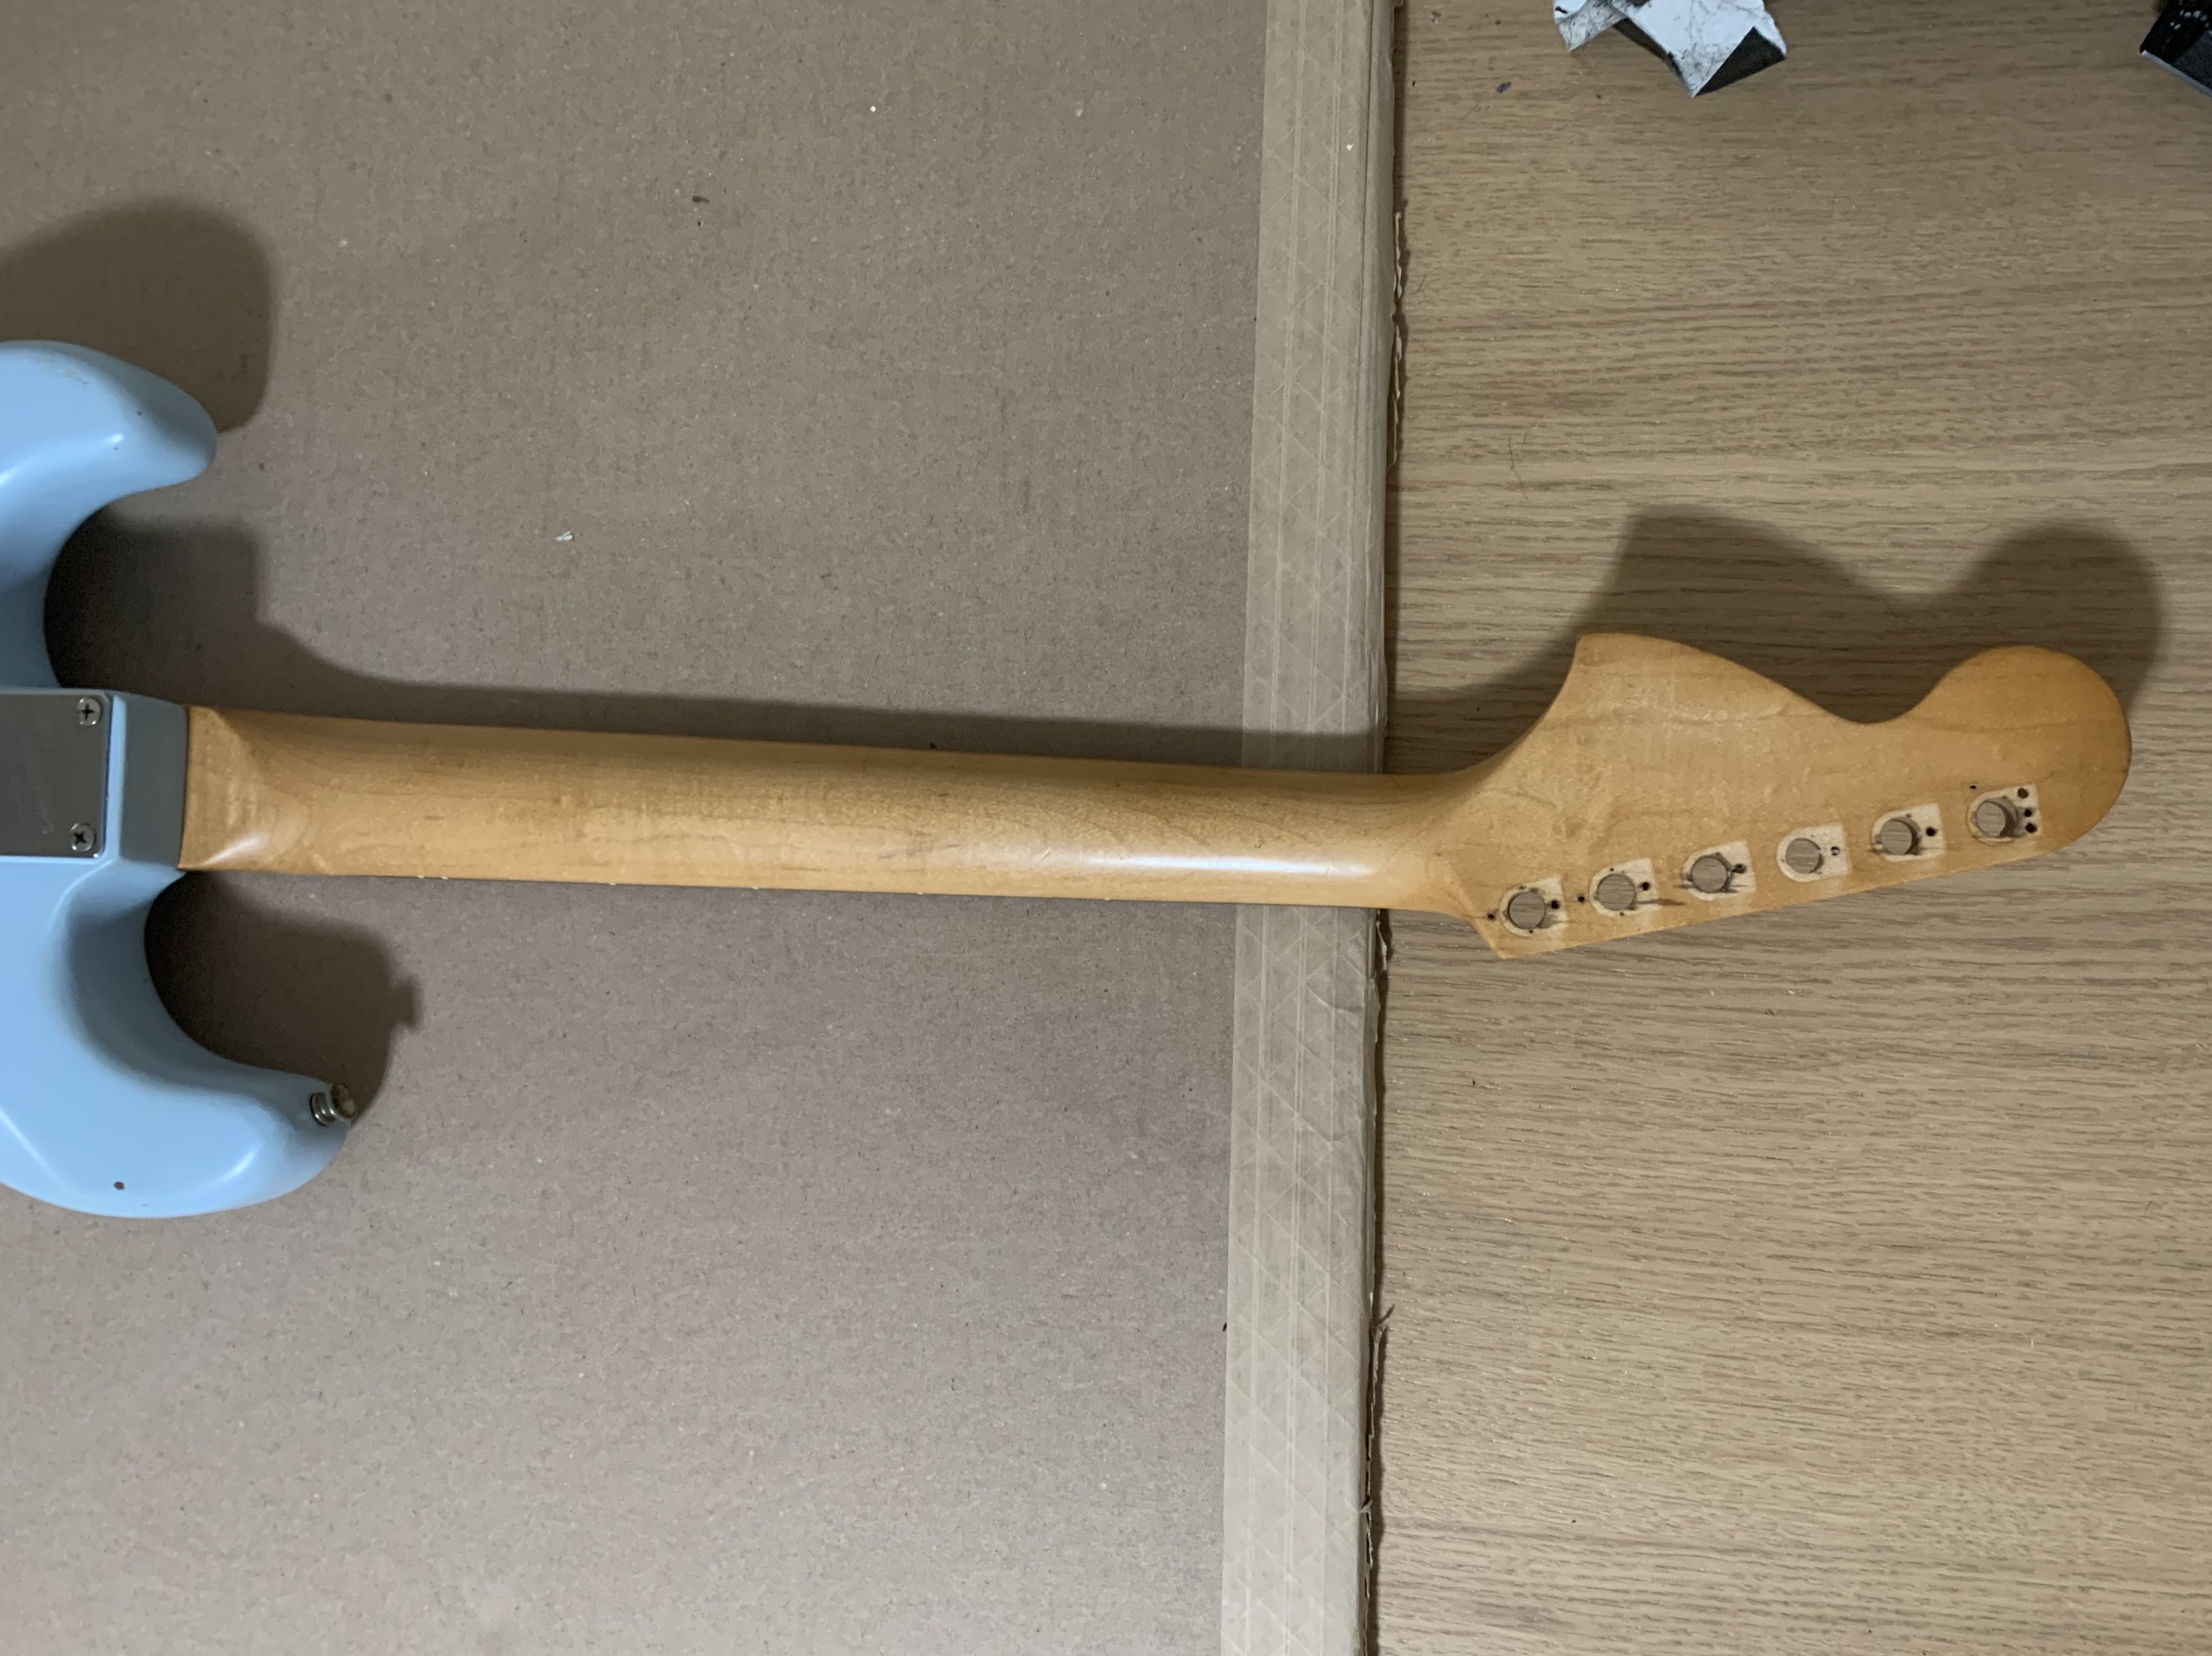
now the work begins #
I started cleaning up the body and fretboard with some acetone, and oh what’s this?! Red paint under the blue?! This is going to be soo good.
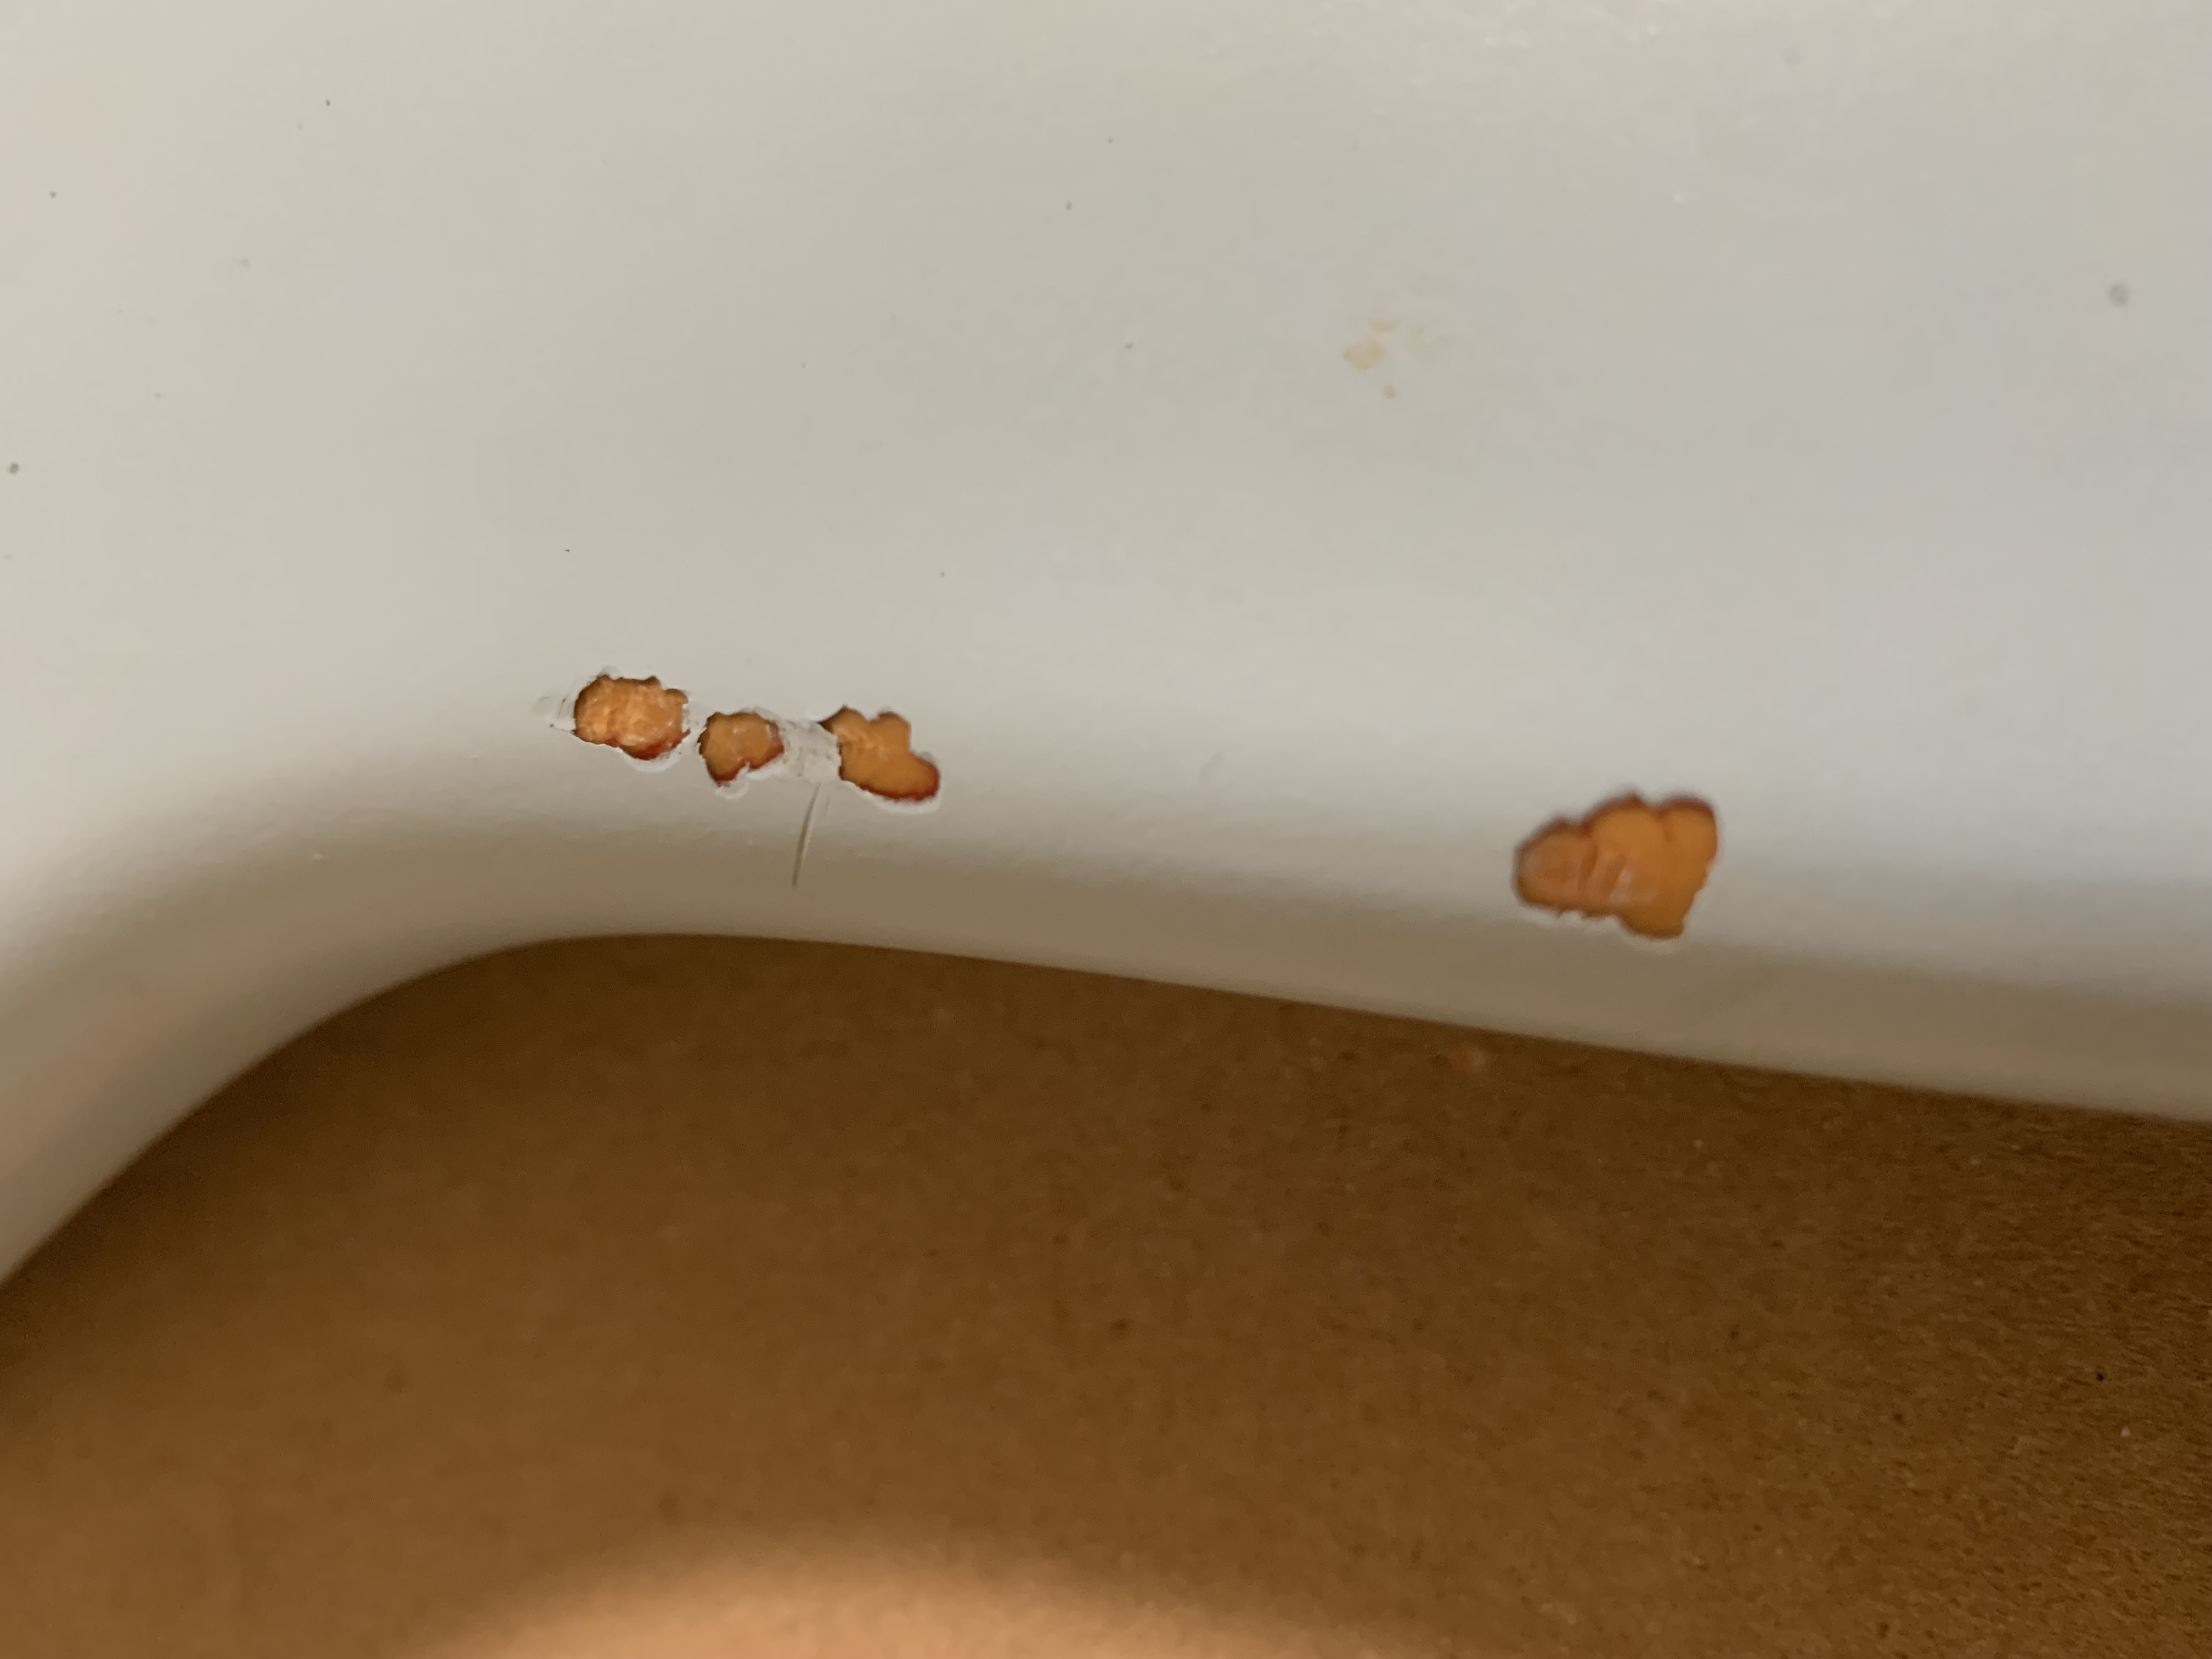
Second, I added some more checking to the paint. Heatgun, not too hot to make the paint bubble or detach, then immediately blast it with electronics cleaner. The paint on this guitar is really thick, so the first round of heatgun and air didn’t create too much checking. I then picked at the larger chips with a razor blade to take off any remaining loose paint.
more work to come #
Next steps:
- another round of checking, then a light stain to the cracks to make them stand out
- some more sanding in the typical wear spots to break through the blue and into the red, but not too much to make it look like fake relic’ing (can’t stand when it’s obviously fake)
- then some light sanding to the neck to dull the lacquer (and make it play soo smooth)
- MAYBE some light relic’ing to the fretboard (not a huge fan of this, but it’s important for realistic relic’ing)
- apply copper shielding tape to ground the cavities and pickguard
- finally, reassemble with upgraded tuning machines, tone pots, resistors, and pickups
More posts to come.